I still remember the night I almost burned the house down trying to make a sandwich that would impress my roommate. I had a stack of stale baguettes, a handful of lettuce, and an endless supply of cheese that seemed to have a life of its own. The idea of turning a simple loaf into a portable, edible bowl was born out of desperation, a pinch of culinary curiosity, and a daring dare from a friend who swore that I could never make a sandwich that tasted like a meal. Fast forward a few months, and I’m standing in a kitchen that smells like freshly baked dough, the air thick with the promise of melted cheese and crispy edges that shatter like thin ice. I’ve refined that first disaster into a recipe that’s hands down the best version you’ll ever make at home.
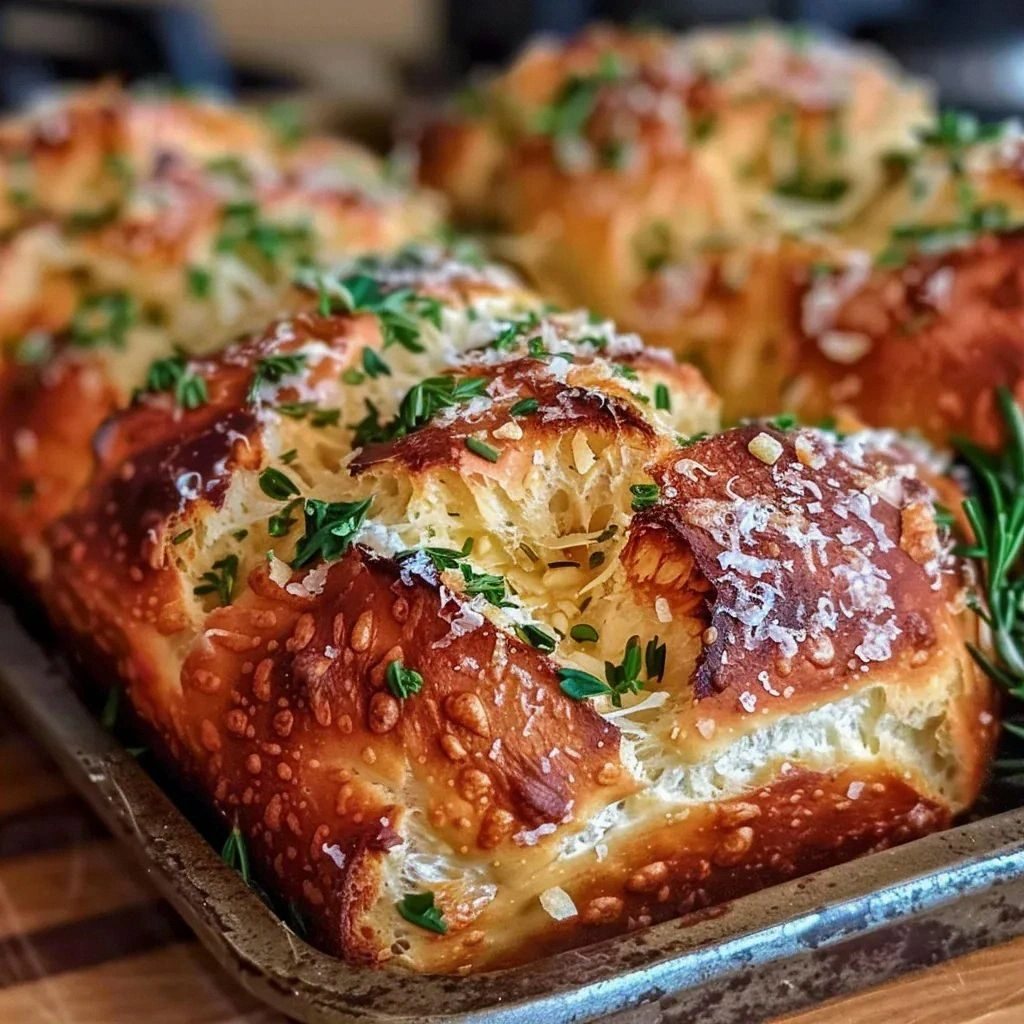
Picture yourself pulling a golden, hollowed bread bowl from the oven, steam curling like wisps of cloud. The crust is a deep, caramelized brown that gives way to a tender, airy crumb inside. As you lift the lid, a savory aroma—cheese, herbs, and the faint sweetness of tomatoes—fills the room. The first bite is a burst of texture: a crunchy crust, a creamy, melty interior, and a satisfying crunch from fresh lettuce. It’s a sandwich that feels like a hug in the shape of a bowl. If you’ve ever struggled to elevate a simple sandwich into something that feels like a full meal, you’re not alone—this is the fix.
What sets this version apart is the way each component is engineered to work together. The dough is crafted to be airy yet sturdy, the filling is a symphony of textures, and the final assembly is a visual feast. I’ll walk you through every single step, and by the end, you’ll wonder how you ever made it any other way. Let me show you how to turn a humble loaf into a showstopper that will have everyone begging for seconds.
I dare you to taste this and not go back for seconds. The moment you bite into the first bowl, you’ll feel the crunch, the melt, and the fresh bite of lettuce all at once. The combination of flavors is so harmonious that it practically sings in your mouth. I’ve spent countless hours tweaking the dough, the seasoning, and the assembly, and the result is a sandwich that’s not just a meal, but an experience.
What Makes This Version Stand Out
- Flavor: The blend of herbs and cheese creates a savory depth that elevates every bite.
- Texture: A crisp crust, airy crumb, and creamy filling give a multi-layered mouthfeel.
- Simplicity: Fewer ingredients, fewer steps—yet the outcome feels gourmet.
- Uniqueness: A bread bowl isn’t just a sandwich; it’s a vessel that keeps everything fresh.
- Crowd Reaction: Friends rave about the “wow” factor—no one can resist the visual and taste appeal.
- Ingredient Quality: Using high‑grade cheese and fresh veggies makes the difference between good and great.
- Cooking Method: Hand‑rolled dough and a quick bake lock in flavor and texture.
- Make‑Ahead Potential: The bowls can be baked and stored, ready to be filled in minutes.
Alright, let's break down exactly what goes into this masterpiece…
Inside the Ingredient List
The Flavor Base
The foundation of any great sandwich starts with the dough, and in this case, it’s a simple yeast dough that delivers both structure and flavor. The flour provides the backbone, while the yeast brings that subtle tang and a lift that makes the bread airy. Sugar is a tiny but crucial component—it feeds the yeast and helps with browning, giving the crust a beautiful caramelized hue. Salt balances the sweetness and enhances every other flavor in the dough. If you skip the salt, you’ll end up with a bland loaf that’s hard to enjoy. For the best results, choose a high‑protein flour to give the dough a good chew and a slightly chewy bite.
The Texture Crew
Olive oil is the secret to a tender crumb and a glossy crust. It coats the flour proteins, preventing them from forming too much gluten, which keeps the bread light and tender. Warm water is critical; if it’s too hot, it kills the yeast; too cool, and the dough won’t rise. The water temperature should be around 110°F (43°C), just warm enough to activate the yeast. Using a thermometer will save you from the dreaded “no rise” moment. If you’re in a pinch, a gentle splash of milk can add a subtle richness to the dough.
The Unexpected Star
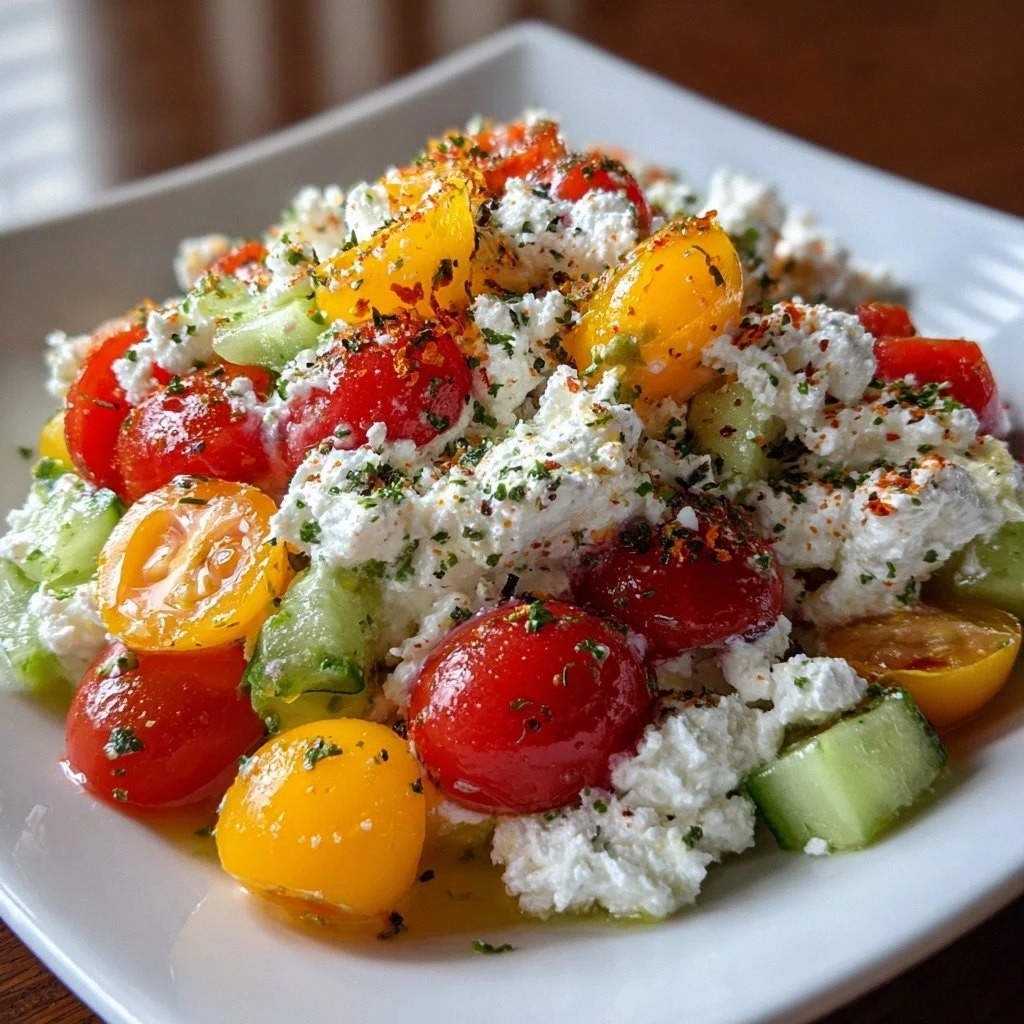
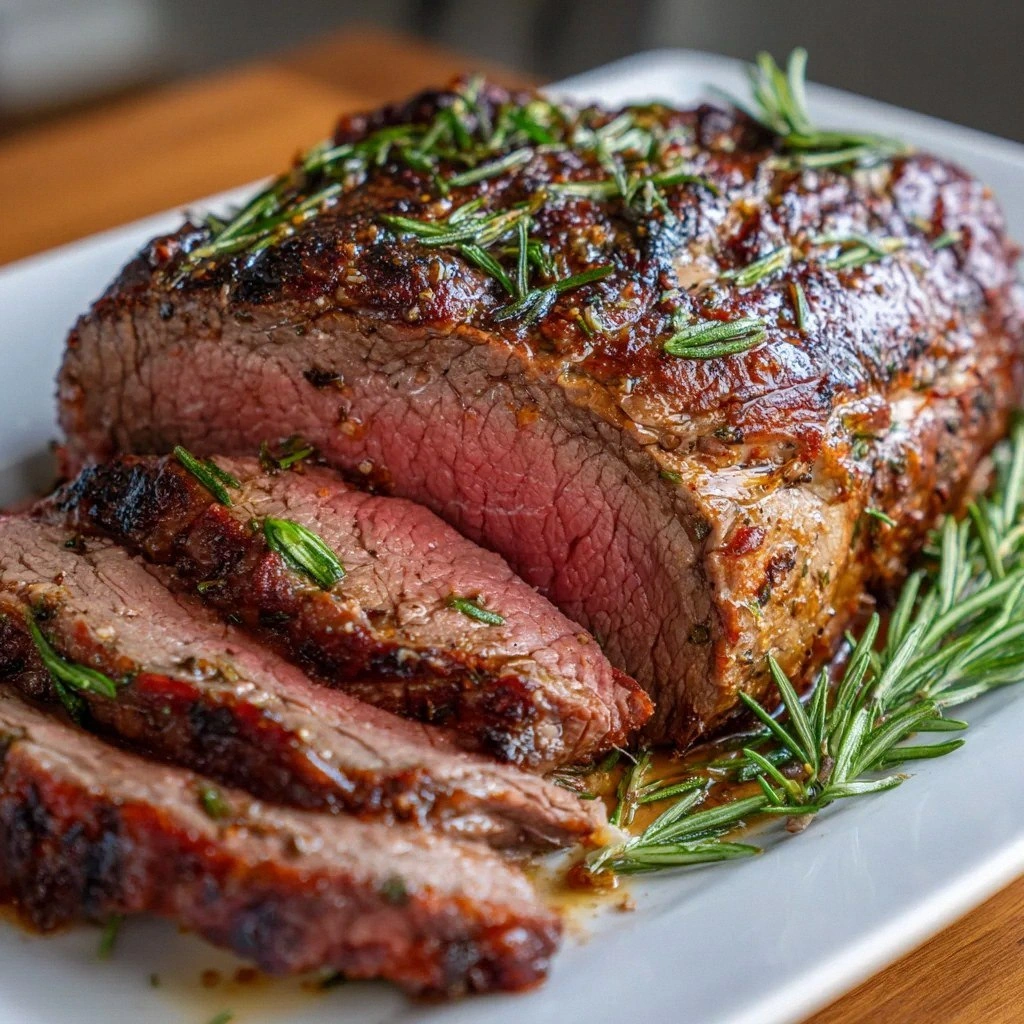
The cheese isn’t just for melting; it’s a flavor anchor that ties the entire filling together. Mozzarella, with its mild profile and excellent melt, works wonders. If you’re a fan of sharper flavors, a blend of mozzarella and provolone can add depth. The ham adds a smoky, savory bite, while the tomatoes bring freshness and a hint of acidity. Lettuce contributes crunch and a bright, green note that balances the richness. The mayo, combined with garlic powder and oregano, creates a creamy, herbaceous sauce that coats the sandwich like velvet. If you’re vegan, swap the cheese for a plant‑based alternative and use a dairy‑free mayo.
The Final Flourish
Lemon juice adds a zesty brightness that cuts through the richness of cheese and oil. It also helps to keep the lettuce crisp for longer. Fresh basil, chopped finely, gives a burst of aromatic flavor that elevates the entire dish. The oregano and garlic powder bring a Mediterranean twist that makes this sandwich stand out from the usual sandwich lineup. If you’re craving a different flavor profile, try adding a dash of smoked paprika or a sprinkle of crushed red pepper flakes for heat. The key is to keep the seasoning balanced so that no single component overpowers the others.
Everything's prepped? Good. Let's get into the real action…

The Method — Step by Step
-
In a large mixing bowl, combine 2 cups of all‑purpose flour, 1 tsp of active dry yeast, 1 tsp of sugar, and 1 tsp of salt. Whisk them together until the dry ingredients are evenly distributed. This is the moment where the foundation of your sandwich starts to form. I swear, if you skip this step, the dough will taste like a bland, lifeless pancake.
-
In a separate bowl, mix 1 cup of warm water (about 110°F), 2 tbsp of olive oil, and 1 tbsp of lemon juice. Stir until the oil is fully incorporated. The warm water activates the yeast, the oil tenderizes the dough, and the lemon juice adds a bright note that will carry through the finished product.
-
Pour the wet mixture into the dry ingredients and stir until a shaggy dough forms. Transfer the dough onto a lightly floured surface and knead for 5–7 minutes until it’s smooth and elastic. The dough should feel slightly tacky but not sticky. At this point, the gluten network is forming, giving the bread its structure.
-
Shape the dough into a ball and place it in a lightly oiled bowl. Cover with plastic wrap or a damp cloth and let it rise in a warm spot for about 1 hour, or until it has doubled in size. The rise is where the dough gets its airy interior. If you’re in a hurry, a quick 30‑minute rise in a warm oven (turned off) works too.
-
Once the dough has risen, punch it down gently to release the air. Divide it into four equal portions and roll each into a tight circle about 1/4 inch thick. Place the circles on a parchment‑lined baking sheet. Using a pizza cutter, cut a small square in the center of each circle to create a rim that will hold the filling. This is the moment of truth—if you cut the center too big, the bowl will collapse.
-
Let the dough bowls rest for 10 minutes. This short rest allows the dough to relax, making it easier to bake evenly. While they rest, preheat your oven to 375°F (190°C). A consistent temperature is key to achieving a golden crust.
-
Brush the tops of the dough bowls lightly with olive oil to promote browning. Bake for 20–25 minutes, or until the crust is deep golden brown and the interior sounds hollow when tapped. The aroma of freshly baked bread will fill the kitchen, making you almost forget about the filling.
-
While the bread is baking, prepare the filling. In a bowl, combine 1 cup of shredded mozzarella, 1 cup of diced ham, 1 cup of sliced tomatoes, 1 cup of shredded lettuce, 1/2 cup of mayonnaise, 1 tsp of garlic powder, 1 tsp of dried oregano, and 1 tbsp of chopped fresh basil. Mix until everything is evenly coated. The mixture should be moist enough to hold together but not so wet that it drips.
-
Once the bread bowls are out of the oven, let them cool for about 5 minutes so the edges firm up. Spoon the filling into each bowl, packing it in but leaving a little room for the lettuce to stay crisp. Serve immediately while the bread is still warm and the cheese is just starting to melt.
That's it — you did it. But hold on, I've got a few more tricks that'll take this to another level…
Insider Tricks for Flawless Results
The Temperature Rule Nobody Follows
Many people bake bread at a low temperature for a long time, hoping to get a crisp crust. I’ve found that baking at 375°F (190°C) for 20–25 minutes gives the best balance of crust and crumb. If you bake too hot, the crust will burn before the interior is done. If you bake too low, the bread will be dense. Use a thermometer to check the internal temperature; 190°F (88°C) is the sweet spot.
Why Your Nose Knows Best
The aroma of bread is a powerful indicator of doneness. When the bread smells sweet and nutty, it’s almost ready. If the scent is metallic or overly yeasty, give it a few more minutes. Trust your nose; it’s a reliable guide that no timer can beat.
The 5-Minute Rest That Changes Everything
After baking, let the bread bowls rest for exactly 5 minutes. This brief pause allows the crust to set and the interior to finish cooking. Skipping this step can result in a soggy bottom or a doughy center. I’ve seen people rush the rest and end up with a disappointing texture.
Keep the Lettuce Crisp
Add a splash of lemon juice to the lettuce before packing it into the bowl. The acidity helps preserve the crunch and brightens the flavor. Toss the lettuce with the juice just before filling, and it will stay crisp even after the cheese melts.
Use a Pizza Stone for the Crust
If you have a pizza stone, place it in the oven while it preheats. The stone conducts heat evenly, giving the crust a superior crunch. This trick is especially useful if you’re making the bowls in a home oven that doesn’t have a convection setting.
Creative Twists and Variations
This recipe is a playground. Here are some of my favorite ways to switch things up:
Greek Twist
Swap the mozzarella for feta, add chopped olives, and sprinkle a pinch of dried oregano. The salty, tangy flavor profile will transport you to the Mediterranean coast. Serve with a side of tzatziki for a complete experience.
BBQ Chicken Variation
Use shredded BBQ chicken instead of ham, add pickled red onions, and drizzle with extra BBQ sauce. The smoky sweetness pairs wonderfully with the crunchy crust. This version is perfect for a summer cookout.
Vegan Delight
Replace the cheese with a plant‑based cheese blend, use vegan mayo, and add sautéed spinach for extra nutrition. The texture remains the same—crisp, creamy, and satisfying—while keeping it plant‑based.
Spicy Cajun Edition
Add a dash of Cajun seasoning to the filling, replace the ham with peppered pork, and top with sliced jalapeños. The heat will wake up your taste buds and make every bite a little adventure.
Breakfast Bowl
Fill the bread bowl with scrambled eggs, crispy bacon, diced tomatoes, and a sprinkle of cheddar. The result is a hearty, portable breakfast that feels like a brunch on the go.
Chocolate Dessert Bowl
Bake the dough bowls without any savory filling, then fill them with melted chocolate, fresh berries, and a dollop of whipped cream. The sweet version turns the bread bowl into a dessert that feels indulgent yet light.
Storing and Bringing It Back to Life
Fridge Storage
Store assembled bowls in an airtight container in the refrigerator for up to 2 days. The crust may soften slightly, so reheat before serving.
Freezer Friendly
Freeze unfilled dough bowls in a freezer‑safe bag for up to 3 months. Thaw in the refrigerator overnight, then bake as directed. The texture remains excellent after freezing.
Best Reheating Method
To bring the bowls back to life, preheat the oven to 350°F (175°C). Place the bowls on a parchment‑lined sheet and bake for 8–10 minutes. Add a splash of water to the bottom of the pan to create steam, which keeps the bread moist and prevents it from drying out. The result is a fresh, warm sandwich that tastes just like the first time.