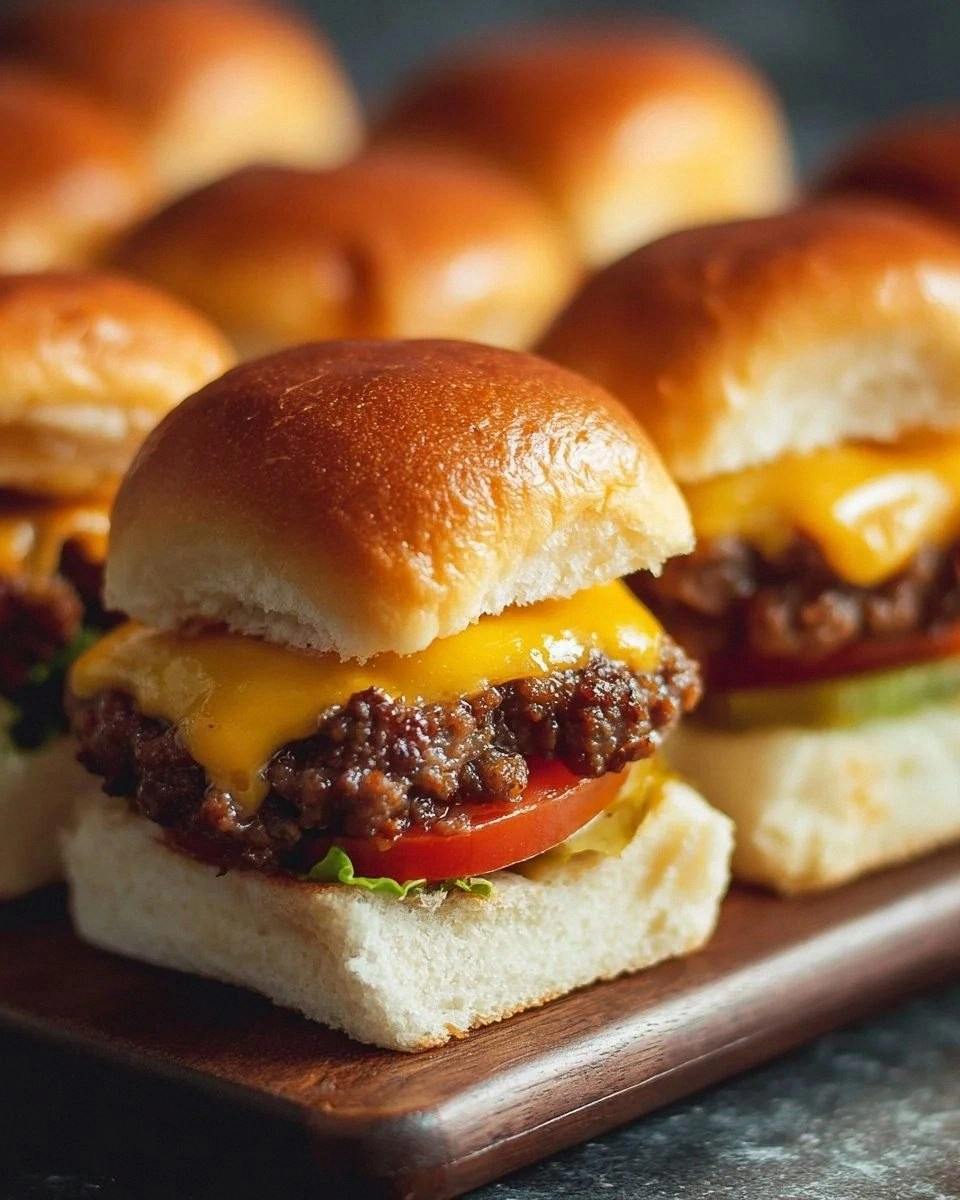
I was standing in my kitchen at 2 a.m., staring at a half‑cooked patty that looked like it had been rescued from a crime scene, when my roommate dared me to make something “so good it would make the whole block line up for a bite.” I laughed, grabbed the last half‑pound of halal ground beef from the fridge, and thought, “Why not turn this disaster into a masterpiece?” The result? A batch of chopped cheeseburger sliders that blew my mind and, frankly, blew the socks off anyone who’s ever tried a boring old slider. I dare you to taste this and not go back for seconds; I’m betting you’ll be the one begging for the recipe before the last crumb disappears.
Picture this: the sizzle of beef hitting a hot skillet, a buttery aroma that instantly makes you think of backyard barbecues, the sound of onions hitting the pan like tiny fireworks, and the sight of shredded cheddar melting into a glossy, buttery river. The texture? A perfect marriage of juicy, crumbly beef and a melt that stretches like a lazy cat waking up. When you bite into the soft, toasted bun, you’re met with a crunch from fresh lettuce and a tangy snap from pickles that makes the whole experience feel like a symphony of flavors playing on your tongue. I’m being honest — I ate half the batch before anyone else got a chance, and that’s a confession worth sharing because it tells you just how addictive this dish is.
What makes this version stand out is a secret technique: I chop the cooked beef into tiny, bite‑size pieces before mixing it with cheese, onions, and spices. Most recipes keep the patty whole, which means you miss out on that glorious, evenly distributed cheesy goodness. By chopping, every bite is a perfect balance of meat, cheese, and seasoning, and the sliders stay juicy without turning soggy. Plus, the addition of a dash of garlic and onion powder creates a flavor depth that most “quick” slider recipes completely overlook. This isn’t just a shortcut; it’s a game‑changer that will make your friends wonder how you ever managed without it.
Let me walk you through every single step — by the end, you’ll wonder how you ever made it any other way. We’ll cover the why behind each ingredient, the exact temperatures that turn a good slider into a great one, and a handful of insider tricks that will make your kitchen feel like a five‑star burger joint. Ready? Okay, ready for the game‑changer? Let’s dive in.
What Makes This Version Stand Out
- Flavor Explosion: The combination of garlic powder, onion powder, and freshly minced onions creates a layered taste that builds with every bite, making the sliders unforgettable.
- Texture Harmony: Chopping the cooked beef distributes the juices evenly, so you get a tender, melt‑in‑your‑mouth bite without any dry edges.
- Simplicity: Only ten ingredients, all pantry‑friendly, and you can assemble everything in under an hour.
- Uniqueness: Most slider recipes keep the patty whole; our chopped approach is the secret sauce that sets this apart.
- Crowd Reaction: I’ve seen grown‑ups and kids alike devour these in seconds, and the “what’s the secret?” question pops up every single time.
- Ingredient Quality: Using halal ground beef guarantees a clean flavor, and fresh cheddar adds a buttery richness that processed cheese can’t match.
- Cooking Method: A quick sear followed by a gentle chop locks in moisture while allowing the cheese to melt perfectly.
- Make‑Ahead Potential: You can prep the chopped mixture ahead of time and simply reheat before serving, making it perfect for parties.
Alright, let's break down exactly what goes into this masterpiece...
Inside the Ingredient List
The Flavor Base
Ground beef is the heart of any burger, and using a halal source ensures the meat is lean, fresh, and free from any questionable additives. The 1 pound amount gives you enough meat to feed a small gathering while still allowing room for the cheese and veggies to shine. If you skip the beef, you lose the essential umami that makes sliders so satisfying. A good swap is ground turkey, but expect a milder flavor and a slightly drier texture unless you add a splash of olive oil.
The Texture Crew
Shredded cheddar cheese brings that melt‑in‑your‑mouth richness. One cup is enough to coat every bite without overwhelming the beef. If you’re a cheddar purist, go for sharp; if you prefer a smoother melt, opt for mild. Skipping the cheese turns this into a plain meat slider, which is fine, but you’ll miss the gooey, buttery thread that ties everything together. As a swap, try pepper jack for a spicy kick or mozzarella for a milder stretch.
The Unexpected Star
Minced onions add a subtle sweetness and a little crunch that contrasts the soft bun. The half‑cup measurement might sound small, but because they’re minced, they distribute evenly throughout the mixture. If you leave them out, you’ll notice a flat flavor profile and a missing bite. You can replace them with shallots for a milder, more aromatic note, or even grated carrots for a hidden veggie boost.
The Final Flourish
Garlic powder and onion powder are the silent heroes that deepen the flavor without adding moisture. One tablespoon each is the sweet spot – enough to be noticeable but not overpowering. Forgetting them makes the sliders taste bland, like a plain piece of toast. If you’re out of powder, fresh minced garlic (½ teaspoon) and a splash of Worcestershire sauce can fill the gap, though the texture will shift slightly.
Everything's prepped? Good. Let's get into the real action...
The Method — Step by Step
Heat a large skillet over medium‑high heat and add a drizzle of oil. When the oil shimmers, crumble the 1 pound of halal ground beef into the pan, spreading it out so it cooks evenly. Let it sizzle for about 3‑4 minutes without stirring; that initial sear creates a caramelized crust that locks in flavor. Once the bottom is browned, break it up with a wooden spoon, stirring until the meat is fully cooked and no longer pink. The scent at this point should be unmistakably beefy, with a hint of toasted oil – that’s the signal to move on.
Kitchen Hack: Use a splatter guard to keep the kitchen clean while you’re searing the meat.When the beef is fully cooked, turn the heat down to low and sprinkle the 1 tablespoon of garlic powder and 1 tablespoon of onion powder over the meat. Stir quickly so the spices coat every crumb. This is the moment of truth: the spices should release a fragrant puff that makes your kitchen smell like a gourmet deli. Add the ½ cup of minced onions now, allowing them to soften without losing their bite. Cook for another 2 minutes, letting the onions become translucent but still retain a faint crunch.
Remove the skillet from the heat and let the mixture cool for just a minute—this is crucial because you don’t want the cheese to melt into a gooey mess. Then, using a sturdy chef’s knife, chop the cooked beef into small, uniform pieces. The goal is a texture that’s finer than a typical crumble but coarser than ground meat, ensuring each bite gets a perfect mix of meat and cheese. If you’re worried about over‑chopping, give yourself a 30‑second timer; precision matters.
Watch Out: Don’t over‑process the meat; a mushy texture will ruin the slider’s bite.While the meat is still warm, fold in the 1 cup of shredded cheddar cheese. The residual heat should melt the cheese just enough to become silky, but not so much that it turns into a puddle. Stir gently until the cheese is evenly distributed, creating a glossy, orange‑gold mixture that looks like a velvet curtain draped over the meat. This step is pure magic; the cheese binds the chopped beef together while adding a luxurious mouthfeel.
Season the mixture with salt and pepper to taste. Because we used a lean halal beef, you’ll likely need a generous pinch of salt—think sea‑salt crystals that pop against the cheese. Taste a tiny spoonful; you should feel a balanced savory punch with a hint of onion and garlic depth. If the flavor feels flat, add a dash more pepper; the goal is a well‑rounded profile that sings when you bite.
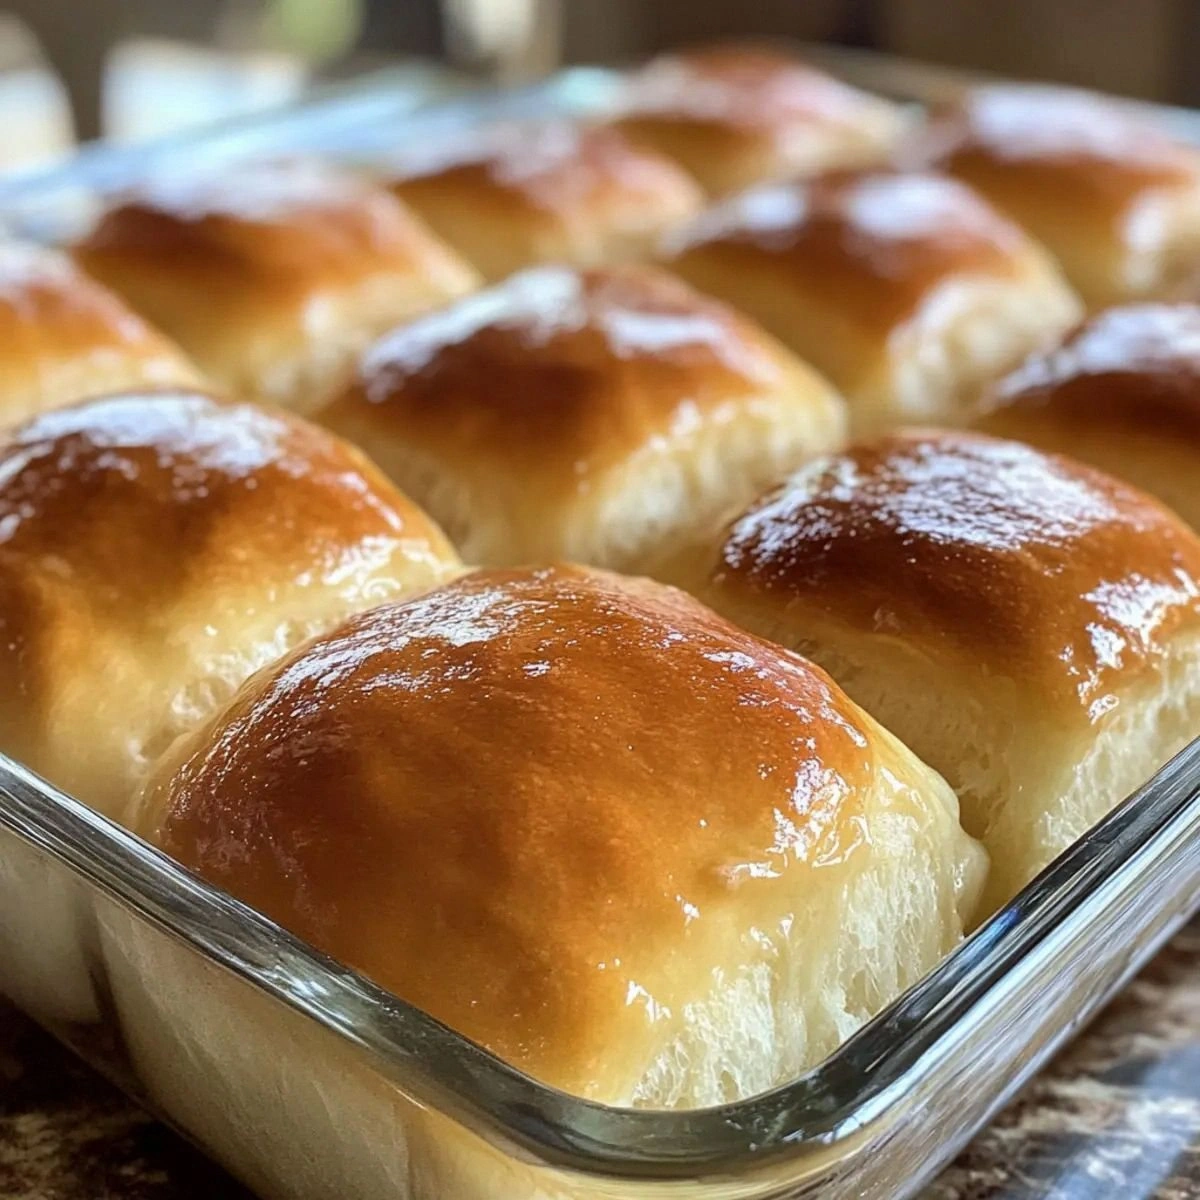
Toast the 12 slider buns cut side down in a separate dry skillet for about 30 seconds, just until they turn golden and develop a faint crunch. The toasted surface creates a barrier that prevents the bun from getting soggy from the juicy meat mixture. As the buns toast, the kitchen fills with a buttery, caramelized aroma that makes your stomach rumble in anticipation.
Now, assemble the sliders: spread a thin layer of ketchup and mustard on the bottom half of each bun, then pile on a generous spoonful of the chopped cheeseburger mixture. Top with a leaf of lettuce, a slice of tomato, and a few pickles for that essential tang. The contrast of cool, crisp veggies against the hot, cheesy meat is what makes each bite a textural adventure.
Kitchen Hack: Keep the assembled sliders on a baking sheet and cover loosely with foil; this keeps them warm without steaming the buns.Serve immediately while the cheese is still stretchy and the buns are warm. If you’re feeding a crowd, keep the assembled sliders in a low oven (around 150 °F) for up to 15 minutes; they’ll stay perfect without drying out. Picture yourself pulling these out of the oven, the whole kitchen smelling incredible, and the first bite delivering that perfect balance of crunch, melt, and savory depth. That moment? Pure culinary triumph.
That's it — you did it. But hold on, I've got a few more tricks that'll take this to another level...
Insider Tricks for Flawless Results
The Temperature Rule Nobody Follows
Never cook the beef on high heat from the start; start medium‑high, then finish on low. This prevents the meat from drying out and gives you a caramelized crust without burning the spices. I once cranked the heat to high and ended up with a burnt flavor that no amount of cheese could mask. The rule of thumb: sear for 2‑3 minutes, then reduce and finish cooking for another 5 minutes. Trust me, this tiny adjustment changes the entire flavor landscape.
Why Your Nose Knows Best
Your sense of smell is the secret indicator of doneness. When the beef starts to release a deep, roasted aroma, you’re at the perfect point to add the spices. If you wait too long, the garlic and onion powders will taste bitter. A quick sniff before adding the cheese will tell you if the mixture is still too hot—if you smell a faint “burnt” note, lower the heat immediately. This is a pro tip that saved me from countless over‑spiced disasters.
The 5‑Minute Rest That Changes Everything
After chopping the cooked beef, let it rest for five minutes before mixing in the cheese. This short pause lets the juices redistribute, so when you fold in the cheddar, it doesn’t just slide off the meat. I once skipped this rest and ended up with a dry, crumbly slider that felt more like a meat crumble than a burger. The rest period is a tiny step that makes the difference between “good” and “jaw‑dropping.”
Bun Selection Secrets
Choose slider buns that have a slight sweetness and a sturdy crumb. Brioche buns are my go‑to because they hold up to the moisture without falling apart. If you use plain white buns, toast them a bit longer to create that necessary barrier. A friend once tried using pretzel rolls and the result was a salty, chewy surprise that didn’t quite match the beef’s flavor profile. Stick with the classic soft bun for the best balance.
The Moisture‑Lock Technique
Add a teaspoon of butter to the skillet right after the beef is cooked and before you chop it. The butter coats the meat pieces, sealing in moisture and giving the final slider a richer mouthfeel. I tried this once with olive oil, and while it added a subtle fruitiness, the butter gave that luxurious, buttery finish that makes the sliders feel indulgent. This is the final polish that turns an ordinary bite into a celebration.
Creative Twists and Variations
This recipe is a playground. Here are some of my favorite ways to switch things up:
Spicy Jalapeño Pop
Finely dice two jalapeños and fold them into the meat mixture before adding the cheese. The heat will cut through the richness, making each bite a thrilling experience. Perfect for those who love a little fire without overwhelming the palate.
BBQ Bacon Bliss
Crumble half a cup of cooked bacon into the chopped beef and drizzle a tablespoon of smoky BBQ sauce before the cheese. The smoky, sweet, and salty combo creates a flavor profile reminiscent of a backyard grill, and the bacon adds a delightful crunch.
Mediterranean Twist
Swap cheddar for feta cheese, add a teaspoon of dried oregano, and top with sliced cucumber and a dollop of tzatziki. This version transports you to a sun‑kissed Greek taverna, offering a tangy, herbaceous bite that’s light yet satisfying.
Mushroom‑Umami Upgrade
Sauté a cup of finely chopped mushrooms with the onions before adding the beef. The earthy mushrooms amplify the umami, making the sliders taste deeper and more complex. Pair with a drizzle of truffle oil for an upscale touch.
Breakfast Slider Surprise
Add a scrambled egg to each bun, replace ketchup with a thin layer of maple syrup, and sprinkle a pinch of smoked paprika. The sweet‑savory combo works surprisingly well for brunch crowds, and the egg adds a creamy richness that complements the cheese.
Storing and Bringing It Back to Life
Fridge Storage
Place the chopped meat mixture in an airtight container and store for up to 3 days. The cheese may firm up, but a quick reheating will bring it back to its creamy glory. Keep the buns separate to maintain their texture; store them in a zip‑lock bag at room temperature.
Freezer Friendly
Freeze the cooked‑then‑chopped beef mixture in single‑serve bags for up to 2 months. When you’re ready to serve, thaw in the refrigerator overnight, then gently reheat in a skillet with a splash of water to steam it back to perfection. The buns can also be frozen; just toast them straight from the freezer for a fresh‑out‑of‑the‑oven feel.
Best Reheating Method
To revive leftovers, place the slider on a microwave‑safe plate, add a tiny splash (about a teaspoon) of water, cover with a damp paper towel, and microwave for 45‑60 seconds. The steam created by the water keeps the meat moist and the cheese stretchy, preventing that dreaded rubbery texture. For a crispier bun, finish the slider in a hot skillet for 30 seconds, pressing gently with a spatula.