Picture this: it’s a rainy Saturday afternoon, the kind that makes you want to curl up with something sweet, something that whispers comfort but shouts flavor. I was battling a half‑finished batch of bland, crumbly cookies that tasted like cardboard and regret, when a friend dared me to “make something that actually tastes like coffee without turning the kitchen into a caffeine‑bomb.” I laughed, I scoffed, but then I thought, why not take a handful of espresso beans, melt them into butter, and create a cookie that could make even the most hardened tea‑drinker consider a switch? That moment of reckless optimism birthed the recipe you’re about to read, and let me tell you, it’s a game‑changer.
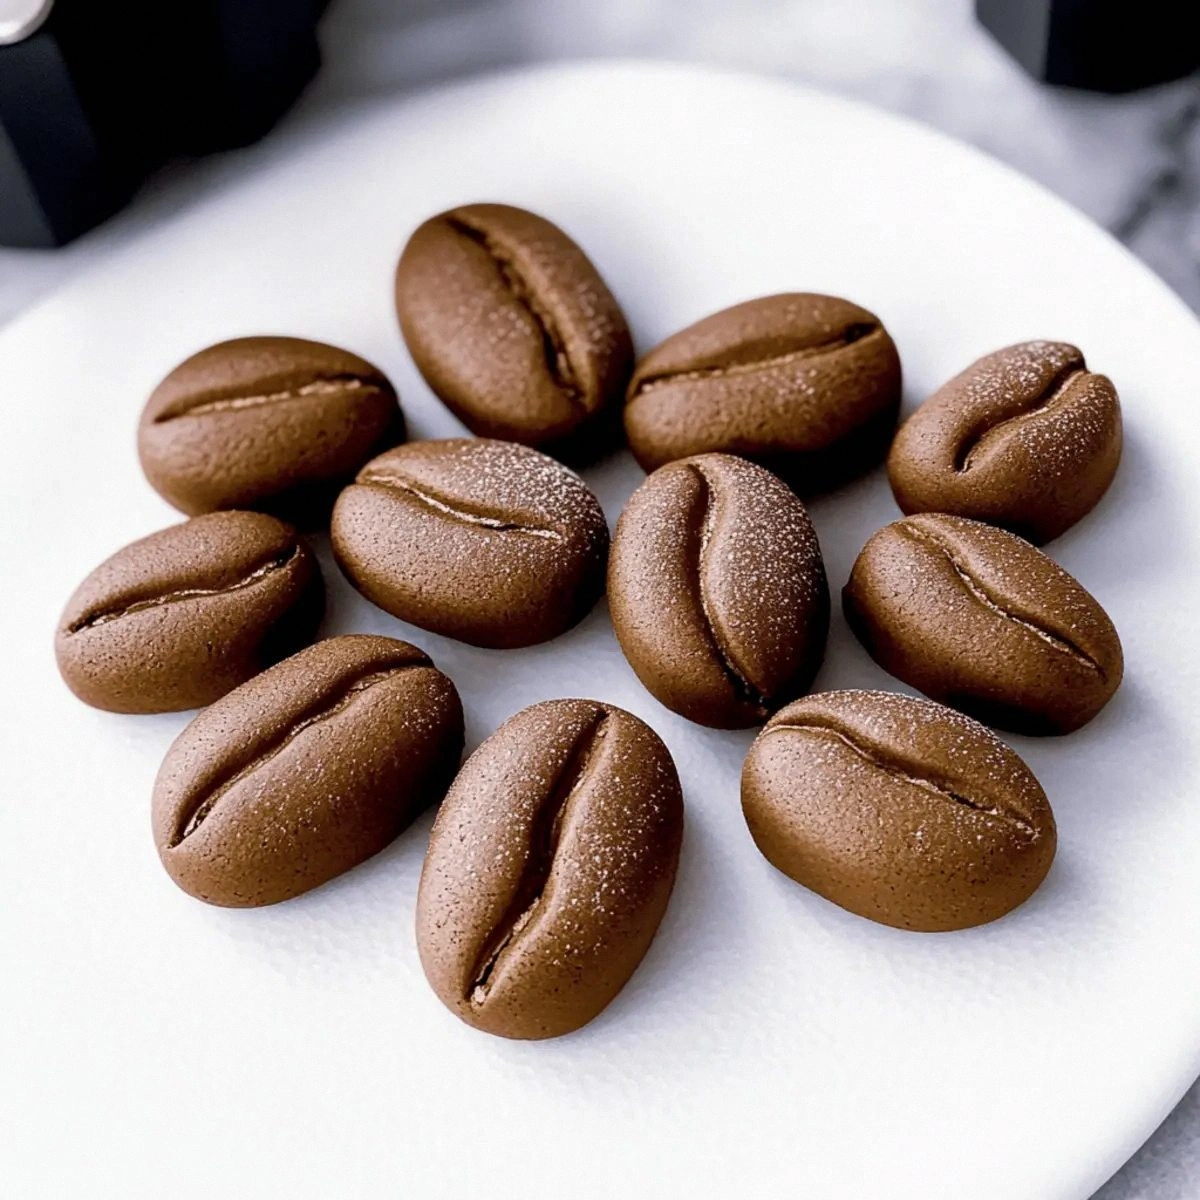
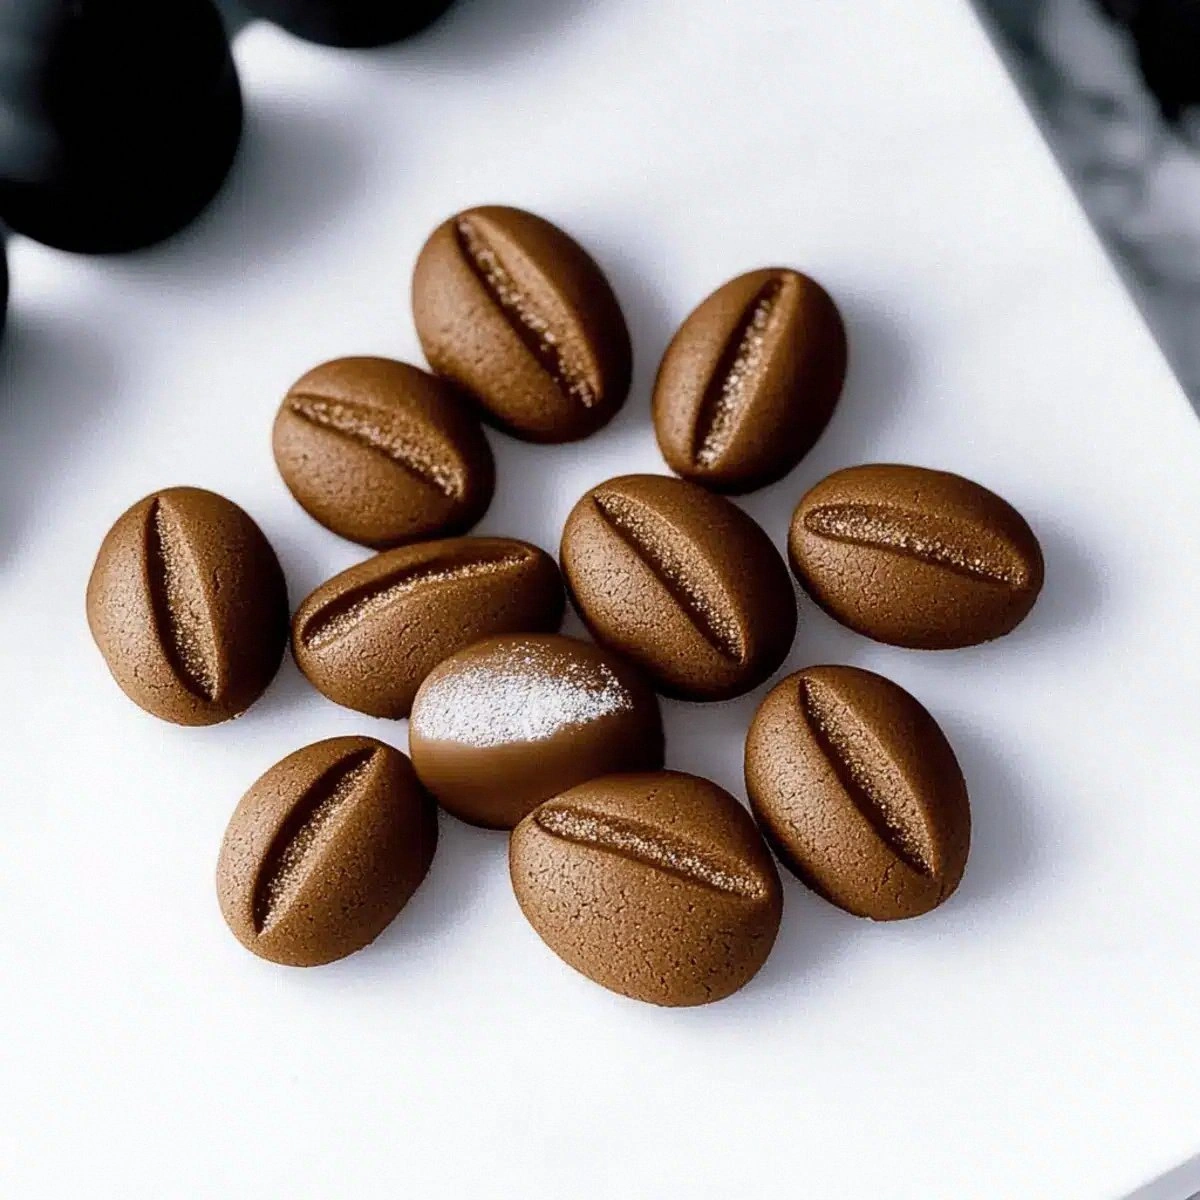
The moment the dough hits the counter, the kitchen fills with a scent that’s part chocolate, part roasted espresso, part sweet nostalgia. You’ll hear the soft thump of butter as it meets sugar, the faint crackle when the cocoa powder is folded in, and the gentle whisper of the oven’s fan humming in the background. Your fingertips will feel the buttery softness of the dough, a texture that promises a chew that’s both tender and resilient, like a perfectly timed hug. And when you finally bite into that first cookie, the taste will explode—rich coffee notes dancing with chocolate, a subtle salt kiss that lifts everything, and a chew that refuses to be soggy or crumbly.
Most cookie recipes either over‑bake, leaving you with a brittle edge, or under‑mix, resulting in a dough that spreads into a flat pancake. This version, however, strikes the perfect balance because I’ve tweaked the ratios, introduced a secret step (you’ll see it soon), and used instant coffee that dissolves completely, delivering an even coffee punch without gritty specks. The secret? A splash of cornstarch that creates that coveted soft, chewy interior while keeping the edges just tender enough to crack with a satisfying snap. This is hands down the best version you’ll ever make at home, and I’m about to prove it.
Let me walk you through every single step — by the end, you’ll wonder how you ever made it any other way. Okay, ready for the game‑changer? This next part? Pure magic.
What Makes This Version Stand Out
- Flavor: The combination of instant coffee and cocoa creates a deep, mocha‑like profile that’s richer than a latte and smoother than a chocolate bar.
- Texture: The cornstarch and butter ratio gives a soft, chewy center that stays moist for days, while the edges stay just enough to crisp.
- Simplicity: Only nine ingredients, all pantry staples, no fancy equipment, and a straightforward mixing method.
- Uniqueness: The instant coffee dissolves completely, avoiding the gritty texture that ground coffee often leaves behind.
- Crowd Reaction: I dare you to taste this and not go back for seconds; even the most skeptical guests become instant fans.
- Ingredient Quality: Using high‑quality butter and chocolate chips elevates the whole cookie, turning simple ingredients into a gourmet treat.
- Cooking Method: A lower oven temperature and a short rest before baking ensure the cookies spread just enough for that perfect chew.
- Make‑Ahead Potential: These cookies freeze beautifully, so you can bake a batch now and enjoy them later without loss of flavor.
Inside the Ingredient List
The Flavor Base
Instant coffee is the hero here. It dissolves fully, giving you that smooth coffee punch without any gritty texture that can ruin a cookie’s mouthfeel. If you skip it, you’ll lose the aromatic depth that makes these cookies feel like a dessert and a caffeine boost in one. Want a stronger coffee flavor? Double the coffee, but remember to balance with a touch more sugar to keep the bitterness at bay. When buying, look for a brand that’s specifically labeled “instant espresso” for a richer, more robust taste.
The Texture Crew
Butter, the unsung champion, provides the richness and contributes to that melt‑in‑your‑mouth feel. I recommend using unsalted, high‑fat European‑style butter; its higher butterfat content makes the dough silkier and the cookies more tender. Powdered sugar, unlike granulated sugar, dissolves instantly, ensuring no gritty crystals disrupt the smooth crumb. The cornstarch is a secret weapon—it interferes with gluten formation, giving you that coveted soft interior while still allowing the cookie to hold its shape.
The Unexpected Star
Cocoa powder adds a subtle chocolate undertone that deepens the coffee flavor, creating a mocha experience without the need for actual chocolate bars. Use a Dutch‑process cocoa for a smoother, less acidic taste, or a natural cocoa if you prefer a brighter chocolate note. Skipping cocoa? You’ll still have coffee cookies, but they’ll lack that luxurious depth that makes them feel like a dessert from a boutique café.
The Final Flourish
Chocolate chips are the finishing touch, offering pockets of melty sweetness that contrast the coffee’s bitterness. Opt for semi‑sweet chips for balance; dark chocolate can overwhelm the coffee, while milk chocolate may make the cookie too sweet. If you’re feeling adventurous, try a mix of white chocolate and espresso‑infused chocolate for a layered flavor surprise. And always store chips in an airtight container; stale chips will rob your cookies of that glossy sheen.
Everything's prepped? Good. Let's get into the real action...
The Method — Step by Step
Preheat your oven to 325°F (163°C). While the oven warms up, line two baking sheets with parchment paper; this prevents sticking and gives you that flawless, even‑baked look. The lower temperature is crucial—it allows the cookies to bake slowly, creating a soft interior while the edges stay tender. If you’re using a convection oven, reduce the heat by 25°F to avoid over‑browning.
Kitchen Hack: Place a small oven‑safe dish of water on the lower rack; the steam keeps the cookies from drying out, preserving that chewy texture.In a medium bowl, whisk together the all‑purpose flour, instant coffee, cocoa powder, cornstarch, and a pinch of salt. The dry mix should look uniformly speckled, with the coffee and cocoa evenly distributed—no clumps. This step is where the flavor foundation is built; every speck of coffee will eventually melt into the dough, ensuring a consistent taste. If you notice any lumps, sift the mixture once more to guarantee a smooth batter.
In a separate large bowl, beat the softened butter with an electric mixer on medium speed until it’s pale and fluffy, about 2‑3 minutes. The butter should have a silky texture, almost like whipped cream, which is the secret to those melt‑in‑your‑mouth bites. Gradually add the powdered sugar, continuing to beat until the mixture is light and airy. This aeration traps air, giving the cookies a subtle lift that makes them feel less dense.
Drop in the egg yolk and beat just until it’s fully incorporated. The yolk adds richness and helps bind the dough without making it too wet. If you accidentally add the whole egg, the texture will shift toward cakey; that’s why I’m strict about using only the yolk. Scrape down the sides of the bowl to ensure everything is mixed evenly.
Now the magic moment: slowly pour the dry ingredient mixture into the wet ingredients, mixing on low speed. The dough will come together as a cohesive mass, slightly sticky but manageable. Stop mixing as soon as the flour disappears; over‑mixing will develop gluten, leading to tough cookies. At this point, fold in the chocolate chips by hand, distributing them evenly without crushing.
Watch Out: If the dough feels too wet, add a tablespoon of flour; too dry and the cookies will crumble.Cover the bowl with plastic wrap and refrigerate for exactly 15 minutes. This brief chill firms the butter, preventing the cookies from spreading too much when they hit the heat. I dare you to skip this step—watch the chaos as your cookies flatten into thin, crispy discs. Trust me, the chill is the difference between “soft, chewy” and “crisp, brittle.”
While the dough rests, scoop out rounded tablespoonfuls onto the prepared baking sheets, spacing them about 2 inches apart. The dough should hold its shape; if it spreads too much, lightly dust the tops with a pinch of flour. Press each ball gently with the back of a spoon to flatten just a tad—this encourages an even bake and a uniform chew.
Slide the sheets into the oven and bake for 12‑14 minutes, or until the edges are lightly golden and the tops have set but not browned. You’ll know they’re ready when the edges start pulling away from the parchment, creating a subtle “crack” that signals a perfect chew. The centers will still look slightly soft—that’s the secret; they’ll firm up as they cool.
Remove the cookies and let them rest on the baking sheet for 3‑4 minutes before transferring them to a wire rack. This short cooling period lets the cookies set, preventing them from breaking apart. As they cool, the aroma of coffee and chocolate will fill your kitchen, a scent that’s practically irresistible. Once on the rack, let them cool completely; the texture will become even more tender as the steam escapes.
Enjoy immediately, or store them in an airtight container for up to a week. If you’re feeling generous, drizzle a tiny bit of melted dark chocolate over the tops for an extra glossy finish. Picture yourself pulling this out of the oven, the whole kitchen smelling incredible, and then biting into a cookie that’s soft, chewy, and brimming with coffee flavor. That’s the moment you’ll remember forever.
That's it — you did it. But hold on, I've got a few more tricks that'll take this to another level...
Insider Tricks for Flawless Results
The Temperature Rule Nobody Follows
Most bakers set the oven to 350°F, but dropping it to 325°F gives the dough time to set without drying out. This lower heat ensures the interior stays soft while the exterior gets just enough color. I once tried baking at 375°F for a “quick fix” and ended up with crunchy edges and a gummy center—definitely not the chewy perfection we’re after. Keep the temperature steady; avoid opening the oven door mid‑bake, as the temperature drop can cause uneven spreading.
Why Your Nose Knows Best
Before you even set a timer, trust your senses. When the cookies start to emit a toasty, coffee‑chocolate perfume, you’re nearing the perfect bake. If the aroma turns slightly burnt, pull them out immediately; overbaking kills the chew. This sensory checkpoint is more reliable than any timer because ovens can vary by up to 25°F.
The 5‑Minute Rest That Changes Everything
After baking, let the cookies rest on the sheet for exactly five minutes before moving them. This brief pause lets the steam redistribute, locking in moisture and preventing the cookies from cracking. I once rushed this step and ended up with a crumbly texture that fell apart at the slightest touch. Patience here is the difference between “soft, chewy” and “dry, crumbly.”
Butter Temperature is Everything
Softened butter should be pliable but not melted. If it’s too soft, the cookies spread too much; too cold, and the dough will be stiff and hard to mix. The perfect butter is like “room‑temperature honey” – it yields easily to a spoon yet holds its shape. If you’re unsure, press a fingertip into the butter; it should leave a shallow indentation that quickly springs back.
Chocolate Chip Distribution Trick
Instead of tossing the chips in all at once, fold them in three stages. This ensures an even distribution, preventing clumps of chocolate in one bite and none in another. I’ve seen novice bakers dump the chips in and end up with a cookie that’s half chocolate, half plain—no good. The three‑stage fold keeps every bite balanced.
Creative Twists and Variations
This recipe is a playground. Here are some of my favorite ways to switch things up:
Mocha Swirl
Before baking, drizzle a thin line of melted dark chocolate across the top of each cookie and use a toothpick to swirl it into the dough. The result is a striking visual and an added layer of bittersweet chocolate that deepens the coffee flavor.
Spiced Espresso
Add a pinch of cinnamon and a dash of ground cardamom to the dry ingredients. The warm spices complement the coffee, turning the cookie into a cozy, autumn‑ready treat.
White Chocolate & Macadamia
Swap the semi‑sweet chocolate chips for white chocolate chips and fold in chopped macadamia nuts. The buttery nuts and sweet white chocolate create a contrast that’s both crunchy and creamy.
Vegan Version
Replace butter with coconut oil and the egg yolk with 1 tablespoon of aquafaba (chickpea water). Use dairy‑free chocolate chips, and you’ll have a vegan‑friendly cookie that still delivers the same chewy texture.
Gluten‑Free Adaptation
Use a 1‑to‑1 gluten‑free flour blend in place of all‑purpose flour. Add a teaspoon of xanthan gum if your blend doesn’t already contain it; this will mimic the elasticity of gluten and keep the cookies from crumbling.
Double‑Shot Espresso
Increase the instant coffee to 3 tablespoons and add a splash of espresso shot (about 1 tablespoon) to the butter mixture. This intensifies the coffee flavor for true espresso lovers, but be careful not to overpower the chocolate.
Storing and Bringing It Back to Life
Fridge Storage
Place the cooled cookies in an airtight container with a paper towel at the bottom to absorb any excess moisture. Store them in the refrigerator for up to a week; the cool environment preserves the chew while keeping the chocolate chips from melting.
Freezer Friendly
Layer cookies between parchment sheets in a freezer‑safe bag, then seal tightly. They’ll keep for up to three months. When you’re ready to indulge, let them thaw at room temperature for 15 minutes, then pop them in a 300°F oven for 5 minutes to refresh the texture.
Best Reheating Method
Before reheating, add a tiny splash (about a teaspoon) of water to the container and seal it; the steam revives the softness. Warm the cookies in a preheated oven at 300°F for 4‑6 minutes, or microwave for 10 seconds if you’re in a hurry. The result? A cookie that tastes as fresh as the day it was baked.