I was in the middle of a frantic morning—my coffee was cold, the kids were demanding snacks, and I had just watched a marathon of “baking fails” on YouTube. One particularly tragic moment featured a cookie dough that turned into a gloopy, inedible mess that even the dog refused to sniff. I stared at the empty bowl, feeling the sting of defeat, and thought, “There has to be a better way.” That very moment sparked a culinary dare: create a cookie‑dough‑inspired treat that’s not only edible but also packs a serious protein punch, stays moist, and never looks like a kitchen catastrophe.
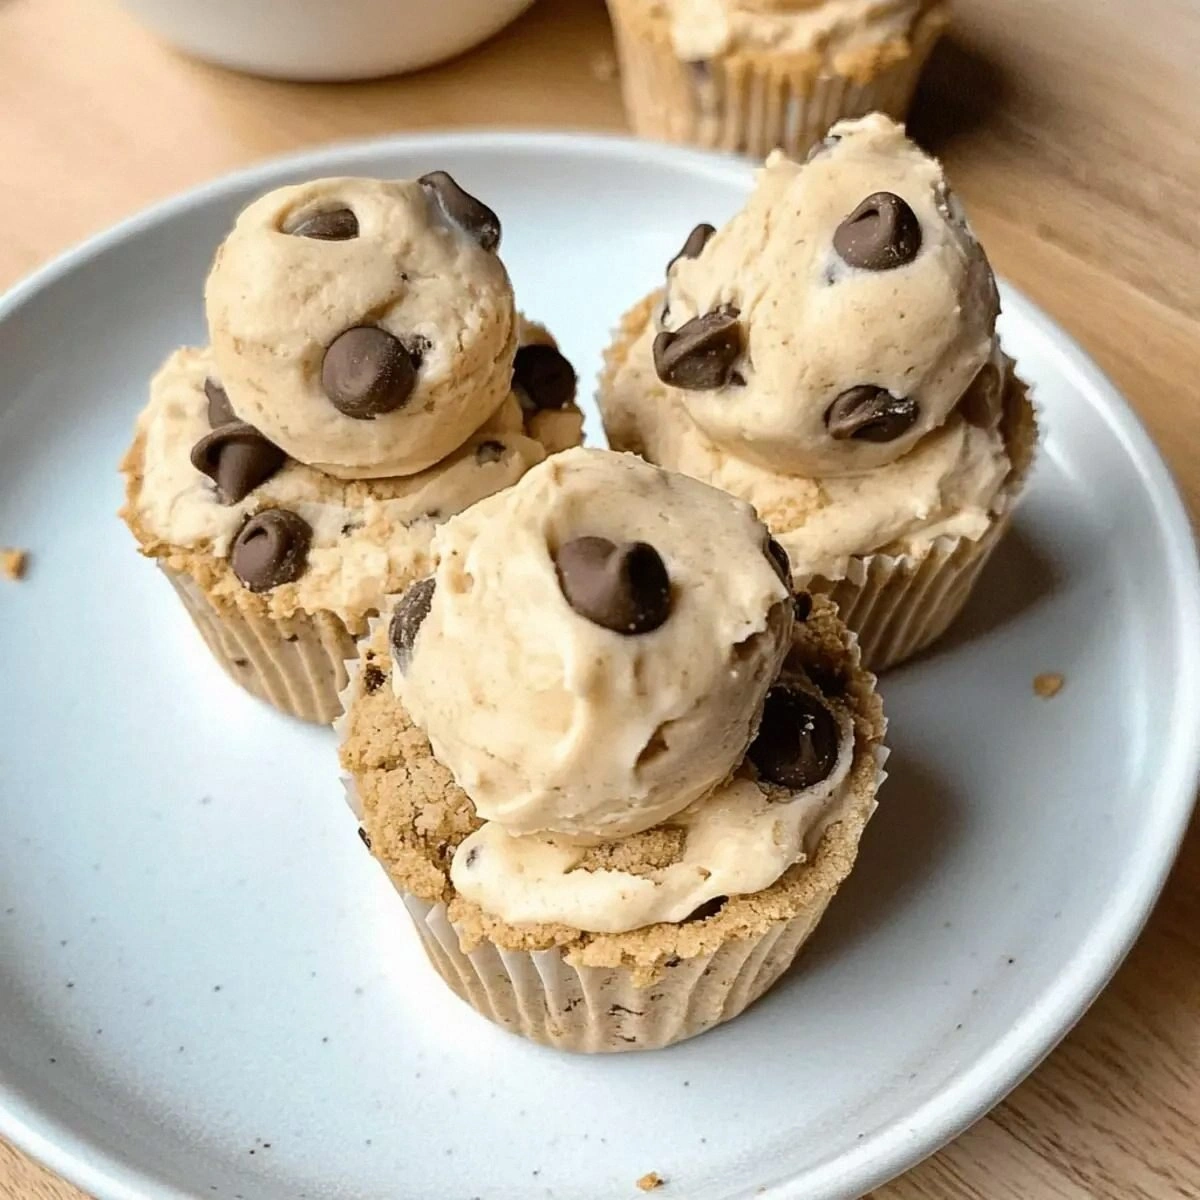
Picture this: a golden‑brown rim that cracks just enough to reveal a soft, creamy center that smells like a blend of toasted oats and sweet maple, with chocolate chips melting like tiny fireworks in every bite. The aroma hits you first—warm vanilla, a whisper of peanut butter, and that faint, comforting tang of dairy‑free yogurt that makes you think of a Greek‑style breakfast but in dessert form. The texture? Imagine biting into a cloud that’s been lightly dusted with a crunchy oat‑flour crust—soft, yet with a satisfying snap that makes you pause, smile, and then dive back in for more.
What sets this version apart from every other “cookie dough cup” you’ve ever tried is the science behind it. I swapped out traditional flour for oat flour, which not only adds a nutty depth but also boosts fiber, keeping you fuller longer. The dairy‑free yogurt acts as a natural tenderizer, giving the dough a silk‑like mouthfeel without the raw‑egg risk that usually haunts no‑bake recipes. And the protein powder? It’s the secret weapon that turns a sweet treat into a post‑workout power bite, without any chalky aftertaste.
I’m about to reveal a technique that most recipes completely ignore: the “double‑dip” of both maple syrup and a splash of dairy‑free milk, creating a glossy glaze that locks in moisture and gives the final product that irresistible shine. I dare you to taste this and not go back for seconds. Let me walk you through every single step — by the end, you’ll wonder how you ever made it any other way.
What Makes This Version Stand Out
- Protein‑Packed: Each cup delivers roughly 25 g of protein, thanks to the vanilla whey scoop and peanut butter, making it a perfect post‑gym snack that satisfies cravings without the guilt.
- Texture Harmony: The oat flour creates a subtle crunch on the outside while the yogurt keeps the interior buttery soft, a contrast most cookie‑dough recipes miss.
- Simple Ingredients: No obscure pantry items—just dairy‑free yogurt, peanut butter, maple syrup, and a handful of pantry staples you probably already have.
- Flavor Depth: The vanilla extract and unsweetened chocolate chips add layers of flavor that evolve as the cup cools, turning each bite into a mini adventure.
- Make‑Ahead Friendly: These cups keep beautifully in the fridge for up to four days, and they freeze like a charm, so you can prep a batch on Sunday and enjoy it all week.
- Allergy‑Aware: Completely dairy‑free and gluten‑friendly when you swap oat flour for a certified gluten‑free blend, making it inclusive for most dietary needs.
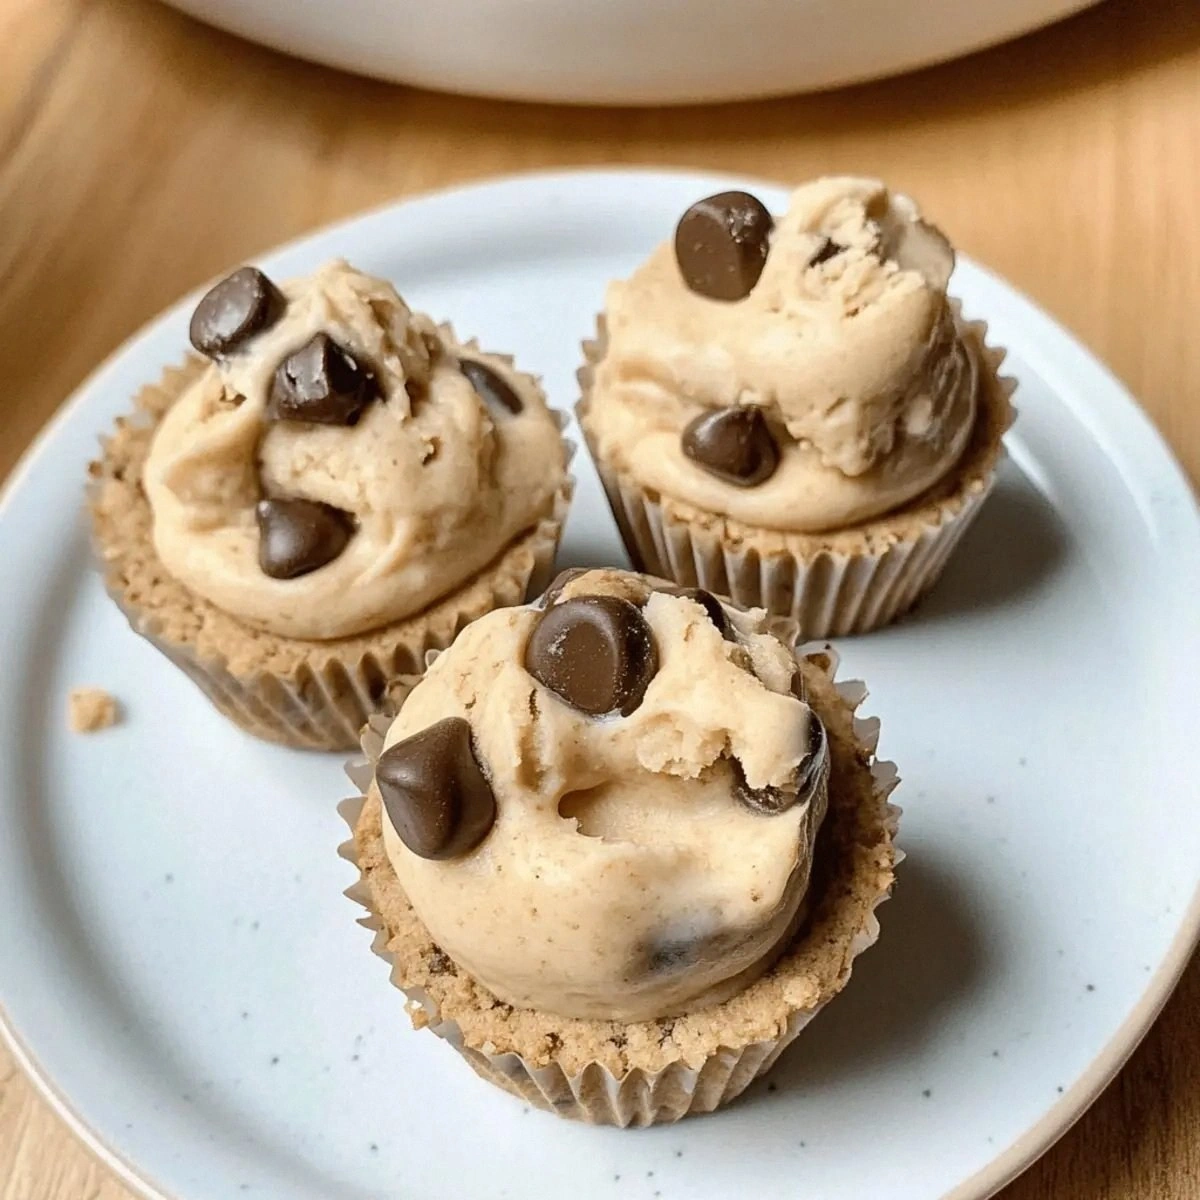
- Visual Appeal: The glossy top, speckled with chocolate chips, looks like a miniature dessert masterpiece—perfect for impressing guests or Instagram.
- Zero Waste: Every ingredient is fully utilized; the extra chocolate chips become a topping, and the yogurt container can be repurposed for smoothies.
Inside the Ingredient List
The Flavor Base
Dairy‑Free Yogurt (1 cup): This is the heart of the dough, providing tang, moisture, and a creamy texture that mimics the richness of traditional dairy. If you skip it, the cups become dry and lose that subtle “breakfast‑meets‑dessert” vibe. For the best results, choose a plain, unsweetened variety; flavored yogurts can throw off the balance.
Vanilla Extract (1 teaspoon): A few drops of pure vanilla lift the entire flavor profile, turning ordinary sweetness into something elegant. Low‑quality extracts taste flat, so splurge a bit—your taste buds will thank you.
The Texture Crew
Peanut Butter (1/3 cup): It adds a buttery richness and a subtle nutty undertone, while also contributing healthy fats that keep the dough from crumbling. If you’re allergic, try almond butter or sunflower seed butter, but expect a slightly different flavor note.
Oat Flour (1/2 cup): This gluten‑free flour gives the cups a tender crumb and a gentle nuttiness. Skipping it for all‑purpose flour will make the texture denser and less airy. Look for stone‑ground oat flour for the most wholesome result.
Unsweetened Chocolate Chips (1/4 cup) & Additional Chocolate Chips (1/4 cup): The first batch is folded into the batter, creating pockets of melty chocolate, while the second batch tops each cup for a crunchy finish. If you love dark chocolate, swap for 70% cacao chips for a richer bite.
The Sweetening & Moisture Duo
Maple Syrup (1/4 cup): This natural sweetener brings caramel notes that complement the vanilla and peanut butter beautifully. It also adds a thin glaze that helps the tops turn golden during baking. Avoid honey if you need a vegan‑friendly version.
Dairy‑Free Milk (1/4 cup): A splash of almond, soy, or oat milk loosens the batter just enough for a smooth pour, preventing a gritty texture. Too much milk makes the cups soggy; stick to the measured amount for perfect consistency.
The Protein Powerhouse
Vanilla Protein Powder (1 scoop): This is the secret that transforms a simple dessert into a muscle‑fueling snack. It blends seamlessly with the yogurt, but if you use a gritty powder, the texture suffers. Choose a high‑quality whey or plant‑based powder that dissolves easily.
Everything's prepped? Good. Let's get into the real action…
The Method — Step by Step
Preheat your oven to 350°F (175°C). While the oven warms, line a standard muffin tin with silicone cups or paper liners. This step might seem trivial, but the silicone prevents the delicate dough from sticking, ensuring a clean release that looks professional.
Watch Out: If you use metal tins, the bottoms can over‑brown, leaving a burnt flavor that overwhelms the subtle vanilla.In a large mixing bowl, combine the dairy‑free yogurt, peanut butter, and maple syrup. Use a hand mixer on low speed until the mixture is smooth and glossy—think of a glossy caramel sauce that coats the spoon.
Kitchen Hack: Warm the peanut butter for 10 seconds in the microwave before adding; it blends more easily, preventing lumps.Add the vanilla protein powder, vanilla extract, and dairy‑free milk to the wet mixture. Beat until fully incorporated—this is the moment of truth where the batter should be thick yet pourable, resembling a thick pancake batter.
Sift the oat flour over the wet ingredients. Gently fold with a spatula, turning the bowl clockwise. Over‑mixing will develop the oat’s natural starches too much, resulting in a denser texture.
Stir in the first 1/4 cup of unsweetened chocolate chips. The chips should be evenly dispersed, creating tiny chocolate islands throughout the dough.
Spoon the batter into the prepared muffin cups, filling each about three‑quarters full. The batter will spread slightly as it bakes, so don’t over‑fill.
Top each cup with the remaining 1/4 cup of chocolate chips, pressing them gently into the surface. This creates a crunchy crown that will melt just enough to stay on top without sinking.
Kitchen Hack: Sprinkle a pinch of sea salt over the chocolate before baking to enhance the sweet‑savory contrast.Slide the tin into the oven and bake for 18‑22 minutes. The edges should turn a light golden brown, and the centers will still look slightly soft—that’s the perfect point of doneness.
Remove the cups and let them cool in the tin for 5 minutes, then transfer to a wire rack. As they cool, the tops will set and develop a subtle sheen from the maple syrup glaze.
That's it — you did it. But hold on, I've got a few more tricks that'll take this to another level. Stay with me here — this is worth it.
Insider Tricks for Flawless Results
The Temperature Rule Nobody Follows
Never bake directly from a cold fridge. Let the batter sit at room temperature for 10 minutes before pouring. This small step prevents the edges from forming a crust too quickly, allowing the interior to stay luxuriously soft. I once baked straight from the fridge and ended up with a hard shell—lesson learned.
Why Your Nose Knows Best
Around the 15‑minute mark, start sniffing. When you catch that buttery, toasted oat aroma, the cups are almost ready. Trusting your nose saves you from over‑baking, which can dry out the yogurt base. I’ve seen people pull them out too early, only to have them collapse—don’t be that person.
The 5‑Minute Rest That Changes Everything
After baking, let the cups rest for exactly five minutes before moving them. This short rest lets the steam redistribute, giving you a perfect crumb structure. Skipping this step makes the cups fall apart when you try to lift them from the tin.
The Chocolate Flip
If you love extra chocolate, melt a tablespoon of chocolate chips with a splash of dairy‑free milk and drizzle over the tops after cooling. The glossy finish adds visual wow factor and an extra burst of flavor. I tried this once at a brunch, and guests asked for the recipe immediately.
The Salt Sprinkle Secret
A light dusting of flaky sea salt right after baking balances the sweetness and highlights the chocolate. It’s a pro trick used in upscale patisseries and makes a humble cookie dough cup feel gourmet. I’m not kidding—this tiny salt boost turned my batch from good to unforgettable.
Creative Twists and Variations
This recipe is a playground. Here are some of my favorite ways to switch things up:
Berry Burst
Fold in ¼ cup of dried cranberries and swap the vanilla protein powder for a berry‑flavored whey. The tartness of the berries cuts through the richness, creating a balanced bite that’s perfect for fall.
Mocha Madness
Add a teaspoon of instant espresso powder to the wet mix and replace half of the chocolate chips with dark cocoa nibs. The coffee kick pairs beautifully with the maple sweetness, turning the cup into a dessert‑coffee hybrid.
Nutty Crunch
Stir in a quarter cup of chopped toasted almonds or walnuts. The extra crunch adds texture contrast, and the nutty flavor deepens the overall profile, making it a hit at office snack tables.
Spiced Autumn
Mix a pinch of cinnamon, nutmeg, and a dash of pumpkin spice into the batter. Pair with a drizzle of pumpkin puree after baking for a seasonal twist that screams cozy evenings.
Coconut Dream
Swap the dairy‑free milk for coconut milk and sprinkle toasted coconut flakes on top before baking. The tropical aroma transports you to a beachside café, and the extra fat keeps the cups extra moist.
Storing and Bringing It Back to Life
Fridge Storage
Place the cooled cups in an airtight container and store them in the refrigerator for up to four days. The yogurt base stays fresh, and the texture remains soft. If you notice a slight firming, let the cup sit at room temperature for 10 minutes before serving.
Freezer Friendly
These cups freeze like a charm. Stack them on a parchment‑lined tray, freeze solid, then transfer to a zip‑top bag. They’ll keep for up to three months. When you’re ready to eat, move them to the fridge overnight to thaw gently.
Best Reheating Method
Reheat individual cups in the microwave for 30‑45 seconds on medium power. Add a tiny splash (about a teaspoon) of dairy‑free milk before microwaving; the steam revives the creamy interior and prevents the edges from drying out. For a crispier top, pop them under a broiler for 1‑2 minutes after microwaving.