I swear, the first time I tried to make a lemon pie I ended up with a crust that looked like a sad, soggy pancake and a filling that tasted like a lemon‑scented soap bar. The kitchen was a battlefield: the oven door slammed shut, the lemon zest went everywhere, and I was left wondering if I should just order a slice from the bakery down the street. Then, in a moment of desperation (and a dare from my roommate that I could not possibly refuse), I dug out Grandma’s old handwritten recipe card, dusted it off, and decided to give it one more shot. What happened next was nothing short of a culinary revelation – a pie that sings with bright citrus, cradles a buttery, melt‑in‑your‑mouth crust, and finishes with a silk‑smooth finish that makes you want to hug the entire dish.
Picture this: the moment you pull the pie from the oven, the kitchen is filled with a perfume that could coax even the most stubborn of taste buds into a happy dance. The crust, golden‑brown and just a whisper away from crunchy, gives way to a buttery crumb that practically melts on your tongue. The filling is a paradox – it’s tangy enough to make your cheeks pucker, yet sweet enough to whisper sweet nothings to your palate, all wrapped in a custard‑like texture that feels like a cloud made of sunshine. As you slice through, the lemon‑y aroma wafts up, and the first forkful releases a silky ribbon of lemon‑butter goodness that clings to the fork like a lover that just won’t let go.
Most lemon pie recipes out there either over‑sweeten the filling, leave you with a soggy bottom, or demand a pastry chef’s degree to get the crust right. I’ve tried the “quick” versions that call for pre‑made crusts and the “fancy” ones that require a blind‑bake and a double‑whisked custard, and honestly, they all fell flat compared to this one. The secret? A tiny dash of heavy cream in the filling that turns the usual tartness into a luxurious creaminess, and a cold‑butter, sugar‑dusted crust that stays crisp even after the filling sets. I’ll be honest — I ate half the batch before anyone else got a chance to try it, and that’s a confession I’m willing to make because the flavor is just that addictive.
Okay, ready for the game‑changer? I’m about to walk you through every single step — from the moment you zest those lemons to the final flourish of whipped cream on top. By the end, you’ll wonder how you ever tolerated any other lemon pie, and I dare you to taste this and not go back for seconds. Let’s dive in and make a masterpiece that will have your friends begging for the recipe, and your grandma nodding proudly from the afterlife.
What Makes This Version Stand Out
- Bright Flavor: The balance of tart lemon juice and sweet sugar is calibrated so precisely that the pie never feels cloying, yet it never leaves you reaching for the next bite.
- Creamy Texture: Adding a splash of heavy cream to the custard transforms the filling from a simple curd into a velvety, melt‑in‑your‑mouth experience.
- Buttery Crust: The crust’s secret is cold butter and a quick bake that locks in moisture, giving you that perfect snap when you cut into it.
- Simplicity: No fancy equipment, no need for a food processor – just a whisk, a bowl, and a good old‑fashioned wooden spoon.
- Make‑Ahead Friendly: The pie can sit in the fridge for up to two days, allowing the flavors to meld and the crust to stay crisp.
- Crowd‑Pleaser: Whether you’re serving it at a summer BBQ or a winter dinner, the bright citrus cuts through rich meals and leaves a lasting impression.
- Ingredient Quality: Using fresh lemons and real butter rather than shortcuts makes a world of difference in aroma and mouthfeel.
- Versatility: The base recipe is a canvas for endless variations – think blueberry swirl, raspberry glaze, or a hint of lavender.
Inside the Ingredient List
The Flavor Base
Fresh lemon juice is the heart of this pie. I use only the juice of two large, unwaxed lemons, which gives you about a half‑cup of bright, acidic liquid that awakens the palate. If you skimp on the juice, the filling will taste flat; if you overdo it, you’ll end up with a pie that’s more sour candy than dessert. A good tip: roll the lemons on the countertop before juicing – this ruptures the membranes and extracts more juice with less effort.
The Texture Crew
All‑purpose flour forms the backbone of the crust, providing structure without weighing it down. The butter, kept cold, creates those coveted little pockets of air that puff up during baking. Sugar in the crust isn’t just for sweetness; it caramelizes slightly, giving the bottom a subtle crunch. A pinch of salt amplifies every flavor, ensuring the lemon doesn’t taste one‑dimensional.
The Unexpected Star
Heavy cream is the surprise element that elevates the custard from ordinary to extraordinary. By adding just a quarter‑cup, you introduce a richness that balances the lemon’s acidity and creates a silk‑like mouthfeel. If you’re dairy‑free, you can substitute with full‑fat coconut cream, but be prepared for a faint coconut undertone that will change the flavor profile.
The Final Flourish
Lemon zest is the aromatic garnish that ties everything together. The zest contains essential oils that burst with citrus perfume when you bite into the slice. Don’t use pre‑grated zest from a jar – it loses its volatile oils quickly, and you’ll miss out on that fresh zing. For an extra layer of indulgence, a light drizzle of melted butter over the crust before baking adds a glossy finish and a buttery aroma that lingers in the kitchen.
Everything's prepped? Good. Let’s get into the real action…
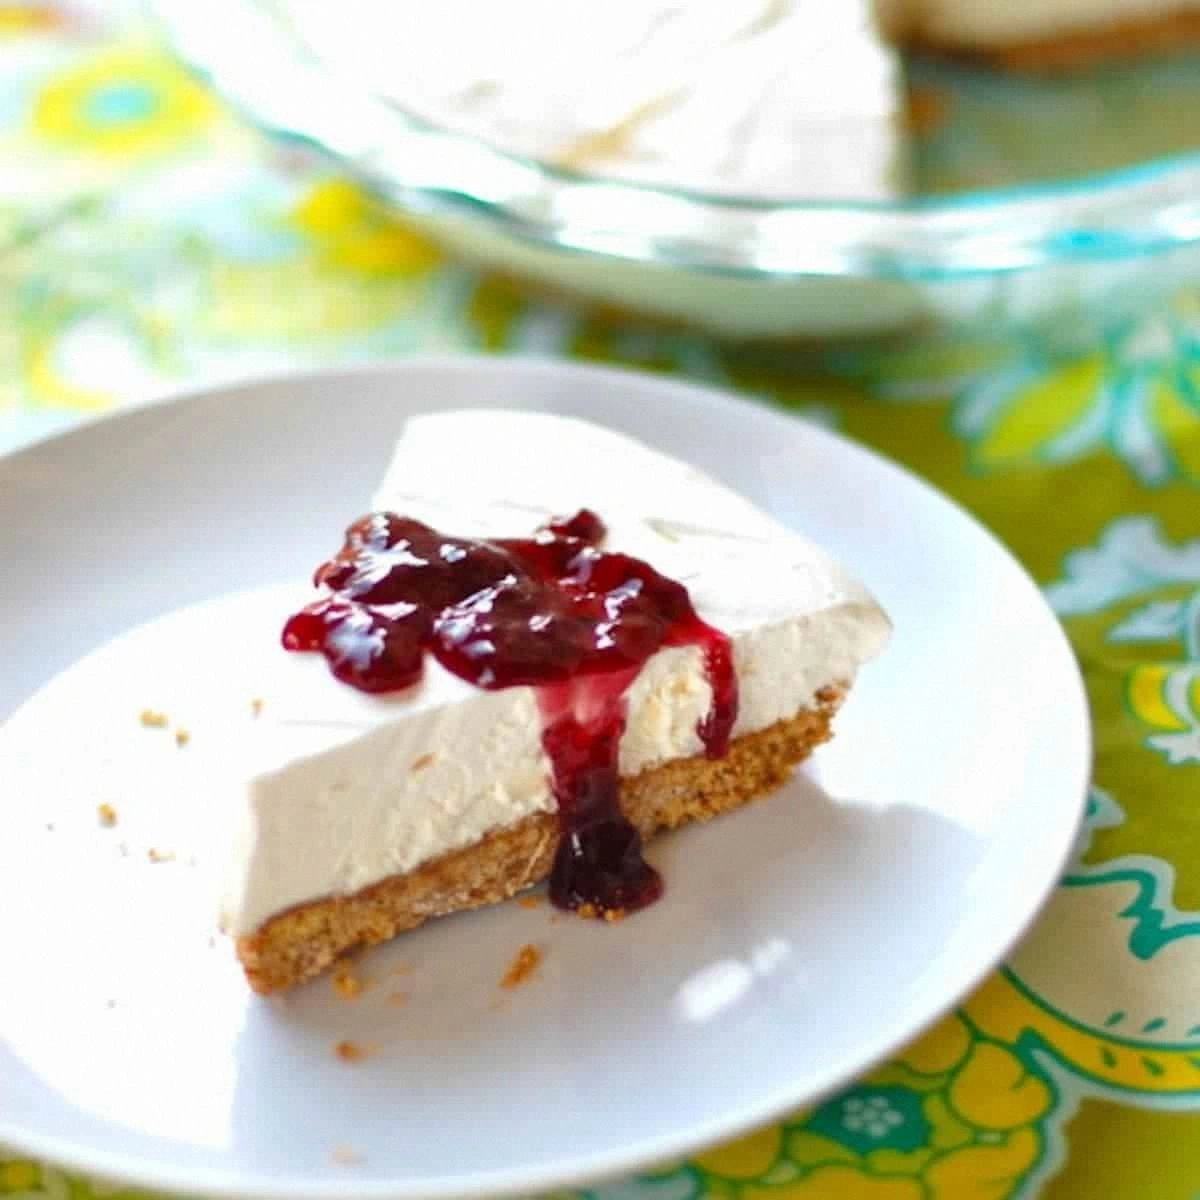
The Method — Step by Step
Start by preheating your oven to 350°F (175°C). While the oven warms, whisk together the flour, sugar, and salt in a large bowl. Then, cut the cold butter into the dry mixture using a pastry cutter or your fingertips until the mixture resembles coarse crumbs with pea‑size butter pieces. This stage is crucial: you want the butter to stay cold, otherwise the crust will become tough instead of flaky. Pro tip: If the dough feels too dry, sprinkle in a tablespoon of ice water and mix gently.
Gather the dough into a ball, flatten it into a disc, wrap it in plastic wrap, and chill for at least 15 minutes. This resting period lets the gluten relax and the butter firm up again, preventing shrinkage during baking. While you wait, zest the lemons directly over the bowl – the zest will fall like golden confetti, and the aroma will fill the kitchen, promising the magic to come.
Roll out the chilled dough on a lightly floured surface to about 1/8‑inch thickness. Carefully transfer it into a 9‑inch pie pan, pressing gently into the corners. Trim any excess dough, then use a fork to prick the bottom all over – this prevents bubbling. Watch Out: If you skip the docking step, the crust will puff up like a balloon, creating unsightly air pockets.
Place a sheet of parchment paper over the crust and fill with pie weights or dried beans. Bake for 12‑15 minutes, or until the edges turn a light golden hue. Remove the weights and parchment, then let the crust cool slightly while you prepare the filling. This blind‑bake step guarantees a crisp bottom that won’t turn soggy once the lemon custard is poured.
While the crust is cooling, whisk together the sugar, eggs, and egg yolks in a medium bowl until the mixture lightens in color. Gradually stir in the lemon juice, zest, and heavy cream, then whisk in the melted butter until the batter is smooth and glossy. The mixture should have the consistency of a thin custard – if it looks too runny, add a tablespoon of flour to thicken slightly.
Pour the lemon filling into the pre‑baked crust, spreading it evenly with a spatula. Slide the pie back into the oven and bake for 20‑25 minutes, or until the edges are set and the center jiggles just a little when you shake the pan. The key visual cue is a faint puffing at the edges; this tells you the custard is perfectly set without being overcooked.
Once baked, remove the pie and let it cool on a wire rack for at least 30 minutes. As it cools, the filling will firm up, making slicing clean and effortless. For an extra glossy finish, brush the top with a light glaze made from powdered sugar and a splash of lemon juice – this adds a subtle sparkle that looks as good as it tastes.
Before serving, dollop a generous swirl of freshly whipped cream on each slice, or simply dust with powdered sugar for a cleaner look. The contrast between the cool, airy cream and the warm, buttery crust is pure bliss. And there you have it – a pie that looks like it belongs in a patisserie but tastes like it was made with love in your own kitchen. That's it — you did it. But hold on, I've got a few more tricks that'll take this to another level…
Insider Tricks for Flawless Results
The Temperature Rule Nobody Follows
Never bake a lemon pie with a cold filling. Bring the lemon juice and heavy cream to room temperature before mixing them with the eggs. This prevents the batter from curdling and ensures a smooth custard. I once tried to skip this step and ended up with a grainy texture that felt like I’d accidentally made a lemon‑flavored pudding. The lesson? Warm ingredients = silky results.
Why Your Nose Knows Best
Your sense of smell is a more reliable indicator than a timer when the crust is done. When the edges start to emit a faint, nutty aroma, you’re at the perfect point of golden‑brown. Trust that scent; it’s the culinary equivalent of a green light. If you ignore it and rely solely on the clock, you risk a burnt crust that will dominate the delicate lemon flavor.
The 5‑Minute Rest That Changes Everything
After the pie comes out of the oven, let it rest uncovered for five minutes before refrigerating. This short pause allows the surface to set, preventing condensation from making the crust soggy. A friend once shoved the pie straight into the fridge and complained about a soggy bottom – a simple five‑minute rest would have saved the day.
Zest Like a Pro
Use a microplane for zesting; its fine blades capture the essential oils without the bitter white pith. If you accidentally get some pith, the flavor can turn bitter, ruining the balance. A quick tip: zest the lemon over a bowl of sugar – the sugar absorbs the oils, making it easier to incorporate later.
The Butter Melt Trick
Melt the butter for the filling just enough to be liquid, then let it cool for a minute before adding to the custard. This prevents the butter from cooking the eggs prematurely, which would lead to curdling. A quick visual cue: the butter should be glossy but not sizzling when it meets the egg mixture.
Creative Twists and Variations
This recipe is a playground. Here are some of my favorite ways to switch things up:
Berry Burst
Stir in a cup of fresh raspberries or blueberries into the lemon filling before baking. The berries add a subtle sweetness and a burst of color that makes each slice look like a work of art. Pair it with a dollop of mascarpone for an extra creamy contrast.
Lavender Dream
Add one teaspoon of culinary lavender buds to the crust mixture. The floral notes complement the lemon’s brightness without overwhelming it. This variation is perfect for a spring brunch where you want something elegant yet comforting.
Chocolate Swirl
Melt 2 ounces of dark chocolate and drizzle it over the cooled filling, then use a skewer to create a marbled effect. The bitterness of the chocolate balances the tartness, creating a sophisticated flavor duet that will impress even the most discerning chocolate lovers.
Coconut Cream
Swap the heavy cream for full‑fat coconut cream and garnish with toasted coconut flakes. This gives the pie a tropical twist, perfect for a summer soirée or a beach‑themed party. Just be aware that the coconut will impart a faint flavor that pairs beautifully with lemon.
Salted Caramel Drizzle
After the pie has cooled, drizzle a thin ribbon of salted caramel over the top. The salty‑sweet contrast elevates the lemon’s acidity and adds a luxurious finish. This version is a hit for holiday gatherings when you want something both festive and comforting.
Storing and Bringing It Back to Life
Fridge Storage
Cover the pie loosely with foil or a parchment sheet and store it in the refrigerator for up to three days. The crust will stay crisp if you place a sheet of parchment between the pie and the foil, preventing moisture from seeping in.
Freezer Friendly
Slice the pie into individual portions, wrap each slice tightly in plastic wrap, then place them in a freezer‑safe bag. They’ll keep for up to two months. When you’re ready to enjoy, let the slice thaw in the fridge for a few hours, then warm it gently in a 300°F oven for 10 minutes.
Best Reheating Method
To revive a refrigerated slice, preheat your oven to 325°F (165°C), place the slice on a baking sheet, and add a tiny splash (about a teaspoon) of water to the edge of the crust. Cover loosely with foil and heat for 8‑10 minutes. The added steam revitalizes the crumb, making it taste as fresh as the day it was baked.