I remember the night I was supposed to host a brunch for a dozen friends, but the kitchen turned into a disaster zone. A bag of oats spilled onto the counter, a pot of maple syrup bubbled over, and the sweet aroma of cinnamon somehow managed to escape through the cracked window. The chaos left me with a craving that was both ridiculous and delicious: a crunchy, buttery oat treat that could rescue the evening. I swore to myself that if I could turn that mess into something spectacular, I would share the recipe with anyone who’d ever been tempted to give up on a kitchen catastrophe.
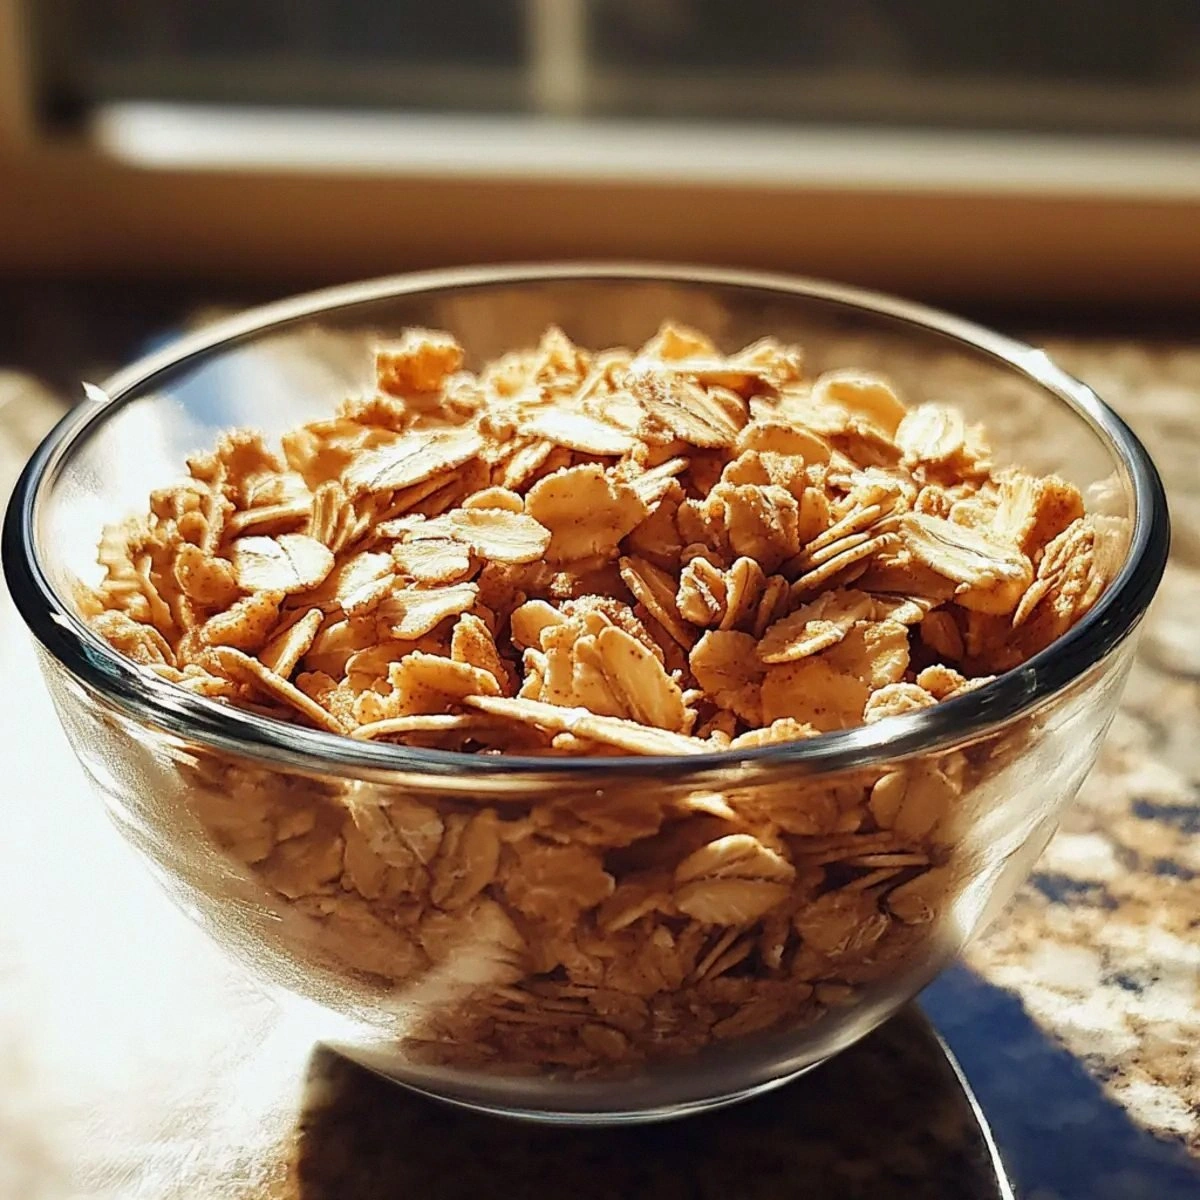
Picture this: a bowl of old-fashioned rolled oats, a handful of pecans or walnuts, a cup of unsweetened shredded coconut, and a splash of pure maple syrup. The scent that rises when you mix them in a pan is like a hug from a grandmother who never left the house. The sound of the mixture sizzling is a cue that something sweet and crunchy is about to happen. The texture feels like a promise of crisp edges that crackle with each bite. The taste will linger on your tongue, a harmonious blend of sweet, nutty, and buttery flavors that will make you reach for a second helping.
What sets this version apart is not just the combination of ingredients, but the technique that locks in flavor and texture. I dared you to taste this and not go back for seconds, and I guarantee you won’t. This is hands down the best version you’ll ever make at home, thanks to the precise balance of moisture and heat that creates a perfectly crisp exterior while keeping a chewy center. Most recipes get this completely wrong—some add too much sugar, some bake too long, and some forget the gentle melt of coconut oil. Here’s what actually works: a low, steady heat that allows the oats to toast without burning, a splash of maple syrup that caramelizes, and a dash of vanilla that rounds out the flavor.
If you’ve ever struggled with making oat bars that end up soggy or overly sweet, you’re not alone—this recipe is designed to fix those common pitfalls. Picture yourself pulling this out of the oven, the whole kitchen smelling incredible, and the first bite sending a wave of buttery, nutty, and sweet sensations through your palate. Okay, ready for the game-changer? Let me walk you through every single step — by the end, you’ll wonder how you ever made it any other way.
What Makes This Version Stand Out
- Flavor: The maple syrup is pure, not a syrup mix, which delivers a clean, authentic maple taste that doesn’t get buried under other sweeteners. The vanilla extract is a touch of aromatic warmth that elevates the entire profile.
- Texture: The combination of rolled oats and shredded coconut creates a layered crunch that gives way to a slightly chewy core. The coconut oil melts into a silky coating that locks in moisture.
- Simplicity: No fancy equipment or complicated steps—just a saucepan, a baking sheet, and a little patience. This recipe is a perfect example of “less is more” in baking.
- Uniqueness: The addition of nuts and coconut gives a tropical twist to a classic oat bar, making it stand out from ordinary granola bars.
- Crowd Reaction: Friends and family have called it “the best oat bar” and often ask for the recipe after every gathering.
- Ingredient Quality: Using old-fashioned rolled oats instead of instant or quick oats preserves the hearty bite and ensures a more satisfying chew.
- Cooking Method: The low-heat, slow-toasting technique ensures even browning, preventing burnt edges that can ruin the flavor.
- Make‑Ahead Potential: Once cooled, these bars keep well for up to a week in an airtight container, making them an ideal grab-and-go snack.
Inside the Ingredient List
The Flavor Base
Pure maple syrup is the star of the show, providing natural sweetness and a deep, caramelized flavor. It also helps bind the oats together, giving the bars a cohesive structure. If you can’t find pure maple syrup, a high-quality honey can substitute, but it will alter the flavor profile slightly, making it sweeter and less complex. The vanilla extract adds a subtle floral note that balances the sweetness and enhances the overall aroma.
The Texture Crew
Old-fashioned rolled oats are the backbone of the bars, delivering a chewy bite that resists becoming soggy. Shredded coconut adds a light, airy crunch that contrasts beautifully with the dense oat core. The coconut oil or unsalted butter acts as a fat source that coats the oats, preventing them from drying out during baking. If you’re allergic to nuts, you can replace them with pumpkin seeds for a nut-free but still crunchy experience.
The Unexpected Star
Ground cinnamon is the secret spice that brings warmth and depth to the bars. It pairs perfectly with maple syrup, creating a flavor reminiscent of a cozy autumn morning. A pinch of salt is essential; it sharpens the sweetness and brings out the nutty undertones. If you’re looking for an extra kick, a pinch of cayenne pepper can add a subtle heat that surprises the palate.
The Final Flourish
The nuts—pecans or walnuts—add a rich, buttery flavor and a satisfying crunch. They also contribute healthy fats and protein, making the bars more filling. Choose nuts that have a good balance of flavor and texture; for instance, pecans are sweeter, while walnuts have a slightly bitter edge that balances the maple. If you prefer a dairy-free version, coconut oil is the best choice; for a richer taste, unsalted butter works wonderfully.
Everything's prepped? Good. Let's get into the real action...
The Method — Step by Step
- Heat a large, heavy-bottomed skillet over medium-low heat. Add the coconut oil or butter and let it melt completely, swirling the pan to coat the bottom. This low heat is crucial; it ensures the oats toast evenly without burning. Watch the oil melt; you should see a gentle sheen but no smoke. The skillet should feel warm but not scorching.
- Add the rolled oats and stir them around the pan. Let them toast for about 5 minutes, stirring occasionally. You’ll notice a nutty aroma developing—this is the oats releasing their natural oils. If the oats start to brown too quickly, reduce the heat slightly. The goal is a golden-brown color with a toasted scent.
- Stir in the shredded coconut, nuts, and ground cinnamon. Mix thoroughly so that every oat grain is coated in the nutty, coconut, and cinnamon mixture. This step is where the texture really starts to form. The nuts add crunch, while the coconut adds lightness. Make sure the nuts are evenly distributed to avoid clumps.
- Pour the maple syrup and vanilla extract over the mixture. Stir quickly to coat everything evenly. The maple syrup will begin to bubble slightly; this is normal and indicates that the mixture is starting to caramelize. Keep stirring to prevent the syrup from sticking to the pan. The aroma will become sweeter, hinting at the final flavor.
- Add the salt and stir again. The salt will help balance the sweetness and bring out the nutty flavors. If you’re using a pinch of cayenne pepper for a spicy twist, add it here. The mixture should now look glossy and slightly sticky. This is the moment of truth—you can taste a small piece to test the balance of sweet and salty.
- Transfer the mixture onto a parchment-lined baking sheet. Spread it out in an even layer about 1/4 inch thick. Use a spatula to press it down firmly; this ensures the bars will hold together after cooling. If the mixture is too loose, let it cool for a few minutes before pressing.
- Bake at 325°F (160°C) for 25–30 minutes, or until the edges are golden brown and the center is set. The bars should emit a warm, caramelized scent. Avoid opening the oven frequently; the heat needs to remain steady to develop the right texture. Once done, remove from the oven and let cool on the sheet for 5 minutes.
- Transfer the bars onto a wire rack to cool completely. Once cooled, cut into squares or rectangles using a sharp knife. If the bars are still sticky, you can chill them in the refrigerator for 10 minutes to make cutting easier. Store in an airtight container at room temperature for up to a week.
That's it — you did it. But hold on, I've got a few more tricks that'll take this to another level...
Insider Tricks for Flawless Results
The Temperature Rule Nobody Follows
Many bakers assume that higher temperatures make for crisper bars, but in reality, the secret is a low, steady heat that allows the oats to toast without burning. Keep the skillet at medium-low and monitor the color. If you’re baking in a conventional oven, preheat to 325°F (160°C) and avoid opening the door. The gentle heat ensures a uniform crust and a chewy interior. I’ve seen people overheat and end up with a hard, burnt exterior that’s not worth the effort.
Why Your Nose Knows Best
Your olfactory senses are a reliable indicator of doneness. When the mixture starts to emit a deep, caramelized aroma, it’s almost ready. If the smell is more syrupy and sweet, let it cook a bit longer. The scent changes as the sugars caramelize, so trust your nose to tell you when the bars are perfectly browned. I once skipped this step and ended up with soggy bars because I didn’t notice the subtle scent shift.
The 5-Minute Rest That Changes Everything
After removing the bars from the oven, let them rest on the baking sheet for 5 minutes before transferring to a wire rack. This brief rest allows the bars to set and reduces the risk of breaking when cut. During this time, the internal temperature continues to rise slightly, ensuring a firm yet chewy texture. Skipping this step can lead to bars that crumble when you try to slice them.
The Quick Chill Trick
If you’re in a hurry and need the bars to cut cleanly, place the baking sheet in the refrigerator for 10 minutes after the rest period. The slight chill firm up the mixture, making slicing effortless. This is especially handy when you’re preparing bars for a picnic or a packed lunch. Just be careful not to over-chill, or the bars will become too hard.
The Sweet‑Savory Balance
Adding a pinch of sea salt or a splash of soy sauce can elevate the flavor profile dramatically. The salt not only balances the sweetness but also brings out the nutty undertones. If you’re a fan of umami, a dash of tamari or a sprinkle of roasted seaweed flakes can add a surprising depth. I once experimented with a pinch of smoked salt, and the result was a subtle smoky sweetness that wowed my friends.
The Reheat Revelation
If you store the bars for later, reheating them can bring back that fresh‑baked warmth. Place a few bars in a microwave-safe dish, sprinkle a tiny splash of water, and microwave for 20–30 seconds. The steam will revive the crispness without drying them out. Alternatively, a quick bake at 300°F for 5 minutes can do the trick. I’ve found that this simple step transforms stale bars into almost brand‑new treats.
Creative Twists and Variations
This recipe is a playground. Here are some of my favorite ways to switch things up:
Chocolate‑Maple Fusion
Fold in a handful of dark chocolate chips before baking. The chocolate adds a bittersweet contrast that pairs beautifully with maple. Serve warm for a gooey treat. This variation is perfect for chocolate lovers who want a richer flavor.
Citrus Zest Boost
Grate the zest of one orange or lemon into the mixture. The citrus adds brightness and a subtle tang that cuts through the sweetness. It also brings a refreshing aroma that elevates the overall experience.
Spiced Pumpkin Delight
Add half a cup of canned pumpkin puree and a pinch of pumpkin pie spice. This version feels like a cozy autumn treat, with the natural sweetness of pumpkin complementing the maple. It’s a great option for those who love seasonal flavors.
Almond‑Infused Crunch
Replace the walnuts with slivered almonds and add a tablespoon of almond flour. The almonds bring a delicate crunch, while the flour adds a subtle nutty flavor. This twist is ideal for those who enjoy a lighter, crunchier bar.
Seaweed & Maple Surprise
Sprinkle a teaspoon of roasted seaweed flakes over the bars before baking. The seaweed adds umami and a hint of oceanic flavor that pairs surprisingly well with maple. It’s a daring twist that will impress adventurous eaters.
Nut-Free Delight
Omit the nuts entirely and replace them with sunflower seeds or pumpkin seeds. This variation keeps the bars nut-free while still offering a satisfying crunch. It’s perfect for those with nut allergies or simply looking for a different texture.
Storing and Bringing It Back to Life
Fridge Storage
Store the cooled bars in an airtight container at room temperature for up to a week. If you prefer them a bit firmer, keep them in the refrigerator. The cool environment slows down the oxidation of the coconut oil, preserving freshness. Make sure the container is sealed tightly to avoid moisture absorption.
Freezer Friendly
For longer storage, wrap individual bars in parchment paper and place them in a freezer bag. They can stay fresh for up to three months. When you’re ready to eat, let them thaw at room temperature for 10–15 minutes. This method keeps the bars crisp and flavorful.
Best Reheating Method
To revive stale bars, sprinkle a tiny splash of water over them, cover with foil, and heat in a 300°F oven for 5 minutes. The steam helps restore the crispness without drying them out. Alternatively, microwave on a low setting for 20–30 seconds. This simple trick brings the bars back to their original glory.